

Tesla ultrasonic sensor cover replacement is vital for maintaining advanced driver assistance systems (ADAS). Locating and removing the cover, inspecting sensors, installing a new one, and rechecking connections ensures optimal performance of safety features like automatic emergency braking and lane-keeping assist. Detailed documentation, including pre-existing damage records and repair process descriptions, enhances quality control and future maintenance.
Looking to replace or repair your Tesla ultrasonic sensor cover? This comprehensive guide is your go-to resource. We’ll walk you through the intricacies of understanding the ultrasonic sensor’s functionality, offering a detailed step-by-step replacement process, and sharing best practices for effective repair order documentation. Get ready to tackle this Tesla ultrasonic sensor cover replacement with confidence.
- Understanding Tesla Ultrasonic Sensor Functionality
- Step-by-Step Replacement Guide for the Cover
- Documentation Best Practices for Repair Orders
Understanding Tesla Ultrasonic Sensor Functionality
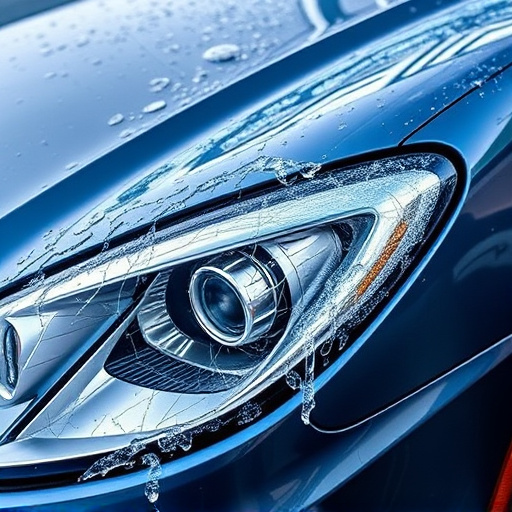
The Tesla ultrasonic sensor is a crucial component of the vehicle’s advanced driver-assistance systems (ADAS). This sophisticated technology plays a vital role in enabling features like automatic emergency braking, lane-keeping assist, and parallel parking assistance. By emitting high-frequency sound waves, the sensor creates a detailed map of surrounding objects, including other vehicles, pedestrians, and obstacles. This real-time data is then processed to make informed decisions, enhancing safety and driver convenience.
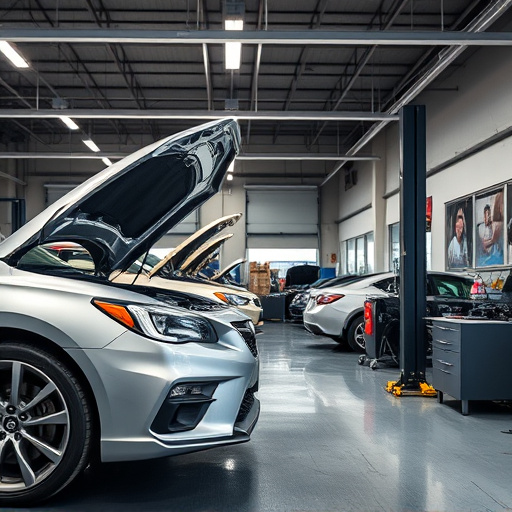
When considering Tesla ultrasonic sensor cover replacement or repair, it’s essential to understand that these sensors are delicate and require meticulous care. A fender bender or minor collision can potentially damage the sensor or its protective cover, leading to reduced performance or complete failure of ADAS features. As such, prompt attention to any visible signs of impact or malfunction is recommended. Auto body repair specialists equipped with the right tools and expertise can accurately diagnose and replace damaged covers, ensuring optimal sensor functionality for a seamless car body restoration.
Step-by-Step Replacement Guide for the Cover

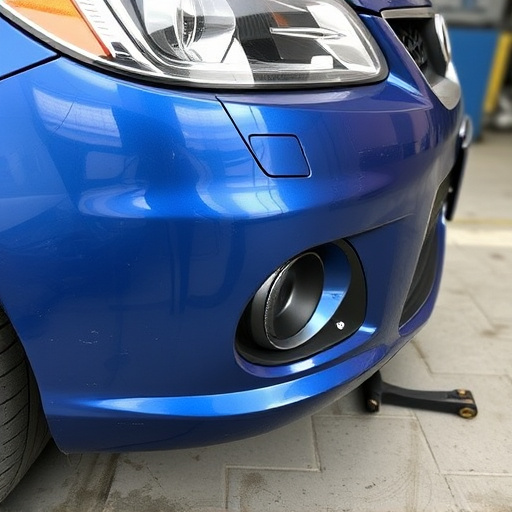
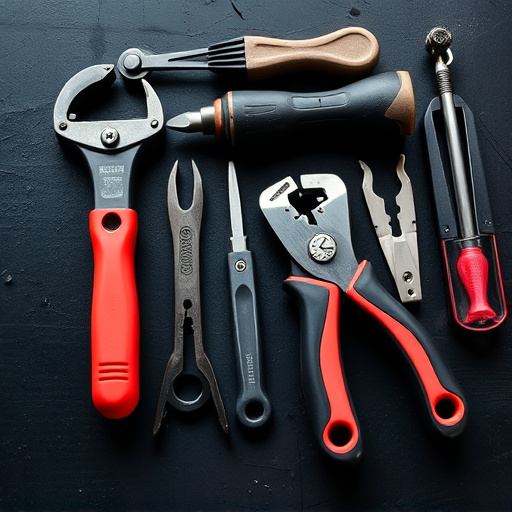
Replacing the Tesla ultrasonic sensor cover is a straightforward process that can be accomplished with the right tools and guidance. Start by identifying the location of the sensor, usually found on the front or rear bumper areas. The cover is designed to protect the sensitive ultrasonic transducer from debris and damage. Before beginning, ensure you have the necessary replacement parts, including the new cover and any required mounting hardware.
The process involves removing the old cover carefully without damaging the underlying sensors or wiring. This may require releasing clips or screws that secure the cover in place. Once exposed, inspect the sensor and its connections to ensure they are clean and undamaged. Proceed to install the new cover by aligning it precisely with the sensor and securing it using the provided fasteners. Double-check all connections after completion to guarantee optimal performance of your Tesla’s advanced safety features, such as parking assistance and autonomous driving capabilities.
Documentation Best Practices for Repair Orders
When documenting a Tesla ultrasonic sensor cover replacement or any repair order, it’s crucial to maintain meticulous records that accurately reflect the vehicle’s condition before and after the service. Begin by thoroughly inspecting the car, noting any existing damage, including dents or scratches, especially around the sensor area. This step is vital as it provides a baseline for assessing the effectiveness of the repairs later.
Use clear and concise language to describe the repair process in detail. For instance, mention if the ultrasonic sensor cover was replaced due to a car collision repair, frame straightening, or general wear and tear. Include before-and-after photos, if possible, to visually demonstrate the repair work performed. Such documentation not only aids in quality control but also serves as a reference for future maintenance and serves as a testament to the professionalism of the repair service provided.
Replacing a Tesla ultrasonic sensor cover is a straightforward process that can be accomplished with the right knowledge and tools. By understanding the critical role of these sensors in autonomous driving and following a structured repair order, owners can ensure their vehicles remain safe and efficient. This article’s step-by-step guide and documentation tips provide a solid framework for effective Tesla ultrasonic sensor cover replacement, empowering both professionals and DIY enthusiasts to tackle this task with confidence.