
Tesla's Ultrasonic Sensor System enhances vehicle safety with high-frequency sound waves, crucial for parking assistance, lane departure warnings, and automatic emergency braking. Replacing a cover is a DIY manageable task, requiring locating sensors (usually on fenders), using authentic Tesla parts, raising the car, removing/installing the new cover, and testing functionality after lowering it. Thorough testing post-installation ensures optimal performance standards for safe driving, especially in autonomous scenarios and collision damage repair.
“Discover how to replace your Tesla’s ultrasonic sensor cover and enhance its obstacle detection capabilities. This comprehensive guide delves into the intricate system that powers Tesla’s advanced driver-assistance features.
We’ll walk you through a step-by-step process, ensuring a seamless replacement. Then, test and optimize your car’s performance, guaranteeing it safely navigates obstacles. Learn the ins and outs of this game-changing technology, all tailored to the Tesla ultrasonic sensor cover replacement.”
- Understanding Tesla's Ultrasonic Sensor System and Its Functionality
- Step-by-Step Guide: Replacing the Ultrasonic Sensor Cover
- Testing Obstacle Detection: Ensuring Optimal Performance After Replacement
Understanding Tesla's Ultrasonic Sensor System and Its Functionality
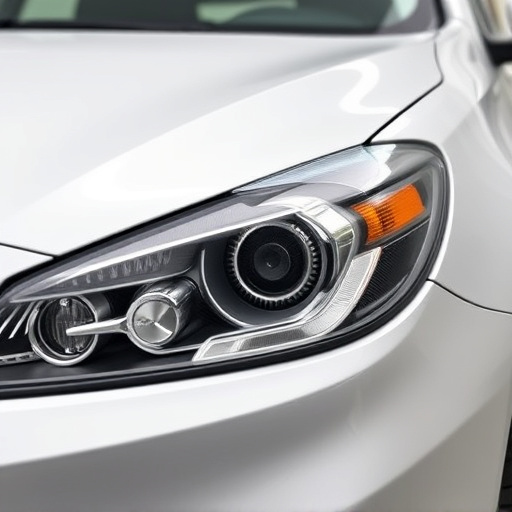
Tesla’s Ultrasonic Sensor System is a sophisticated piece of technology designed to enhance the safety and driving experience of its vehicles. This system utilizes a network of ultrasonic sensors, strategically placed around the car, to detect obstacles and provide crucial data for advanced driver-assistance features (ADAS). Each sensor operates by emitting high-frequency sound waves that bounce off objects, creating echoes that are analyzed to determine distance and shape.
This innovative technology plays a vital role in functions like parking assistance, lane departure warnings, and automatic emergency braking. When considering a Tesla ultrasonic sensor cover replacement, understanding the system’s functionality is essential. Damage or obstruction of these sensors can compromise safety features, so regular maintenance and prompt repair are recommended, especially when performed by trusted auto body repairs experts. An auto repair near me that specializes in electric vehicle maintenance can ensure these sensors remain operational, contributing to a smoother, safer driving experience for Tesla owners.
Step-by-Step Guide: Replacing the Ultrasonic Sensor Cover

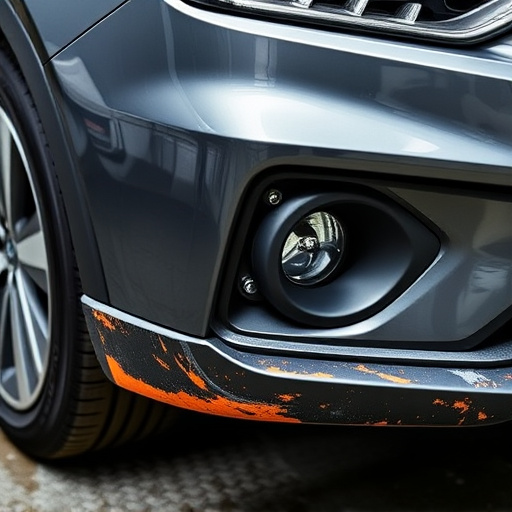
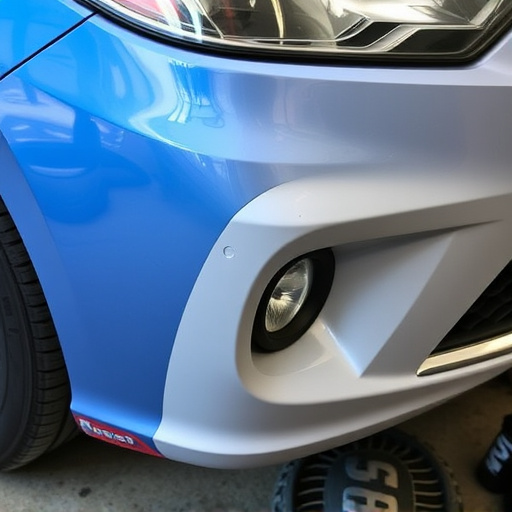
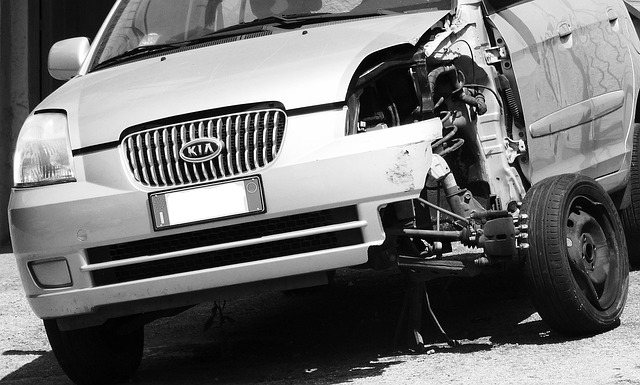
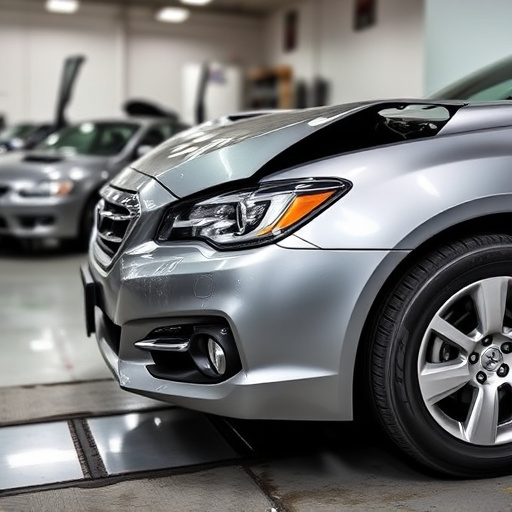
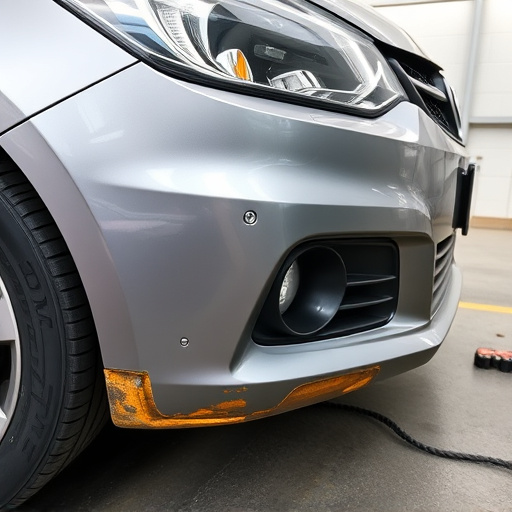
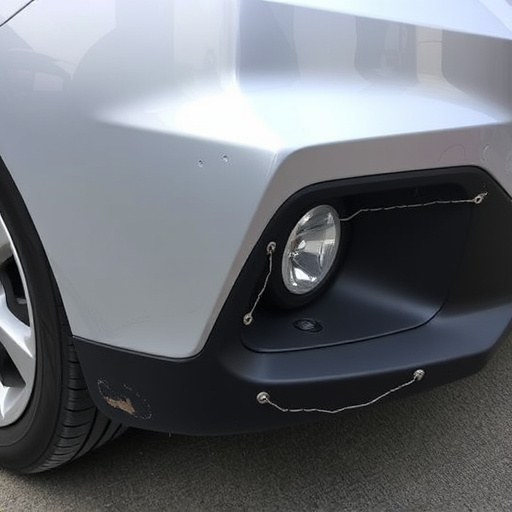
Replacing your Tesla’s ultrasonic sensor cover is a straightforward process that can be accomplished with some basic tools and a few simple steps. First, locate the ultrasonic sensors around your vehicle, typically found on the front and rear fenders. Next, gather your replacement parts—ensure you have an authentic Tesla ultrasonic sensor cover designed for your model year. With the help of a partner or using a jack and stands, safely lift your car and secure it in an elevated position. This allows easy access to the sensors.
Now, remove the old cover by unscrewing any securing bolts or clips. Take note of their placement for future reference. Once the old cover is off, carefully clean the sensor area to ensure optimal performance. Reinstall the new cover, ensuring it aligns perfectly with the sensor. Tighten the bolts securely but be mindful not to overtighten. After lowering your car, test the sensors’ functionality by attempting to park without any obstructions. If all works as expected, you’ve successfully replaced the Tesla ultrasonic sensor cover, enhancing your vehicle’s safety features and minimizing the risks of a fender bender at auto repair near you.
Testing Obstacle Detection: Ensuring Optimal Performance After Replacement
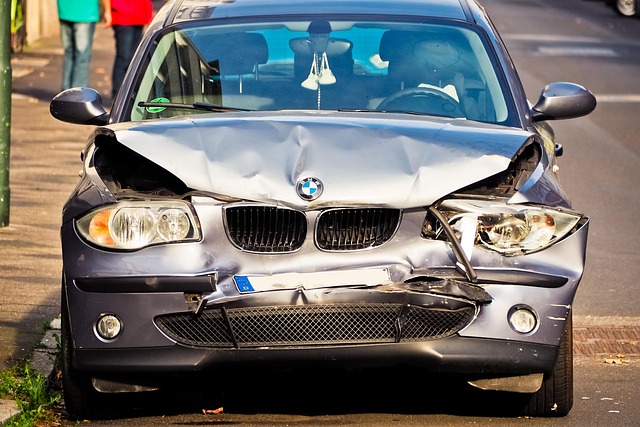
After successfully installing a Tesla ultrasonic sensor cover replacement, it’s crucial to test its obstacle detection capabilities thoroughly. This step is essential for ensuring optimal performance and safety features, especially considering the significant role these sensors play in autonomous driving and collision damage repair. During the test, drive your Tesla at various speeds and through different environments, including tight spaces and open areas, mimicking real-world scenarios like a fender bender or navigating a dense parking lot.
Observe how the vehicle responds to obstacles, whether it’s smoothly braking or accurately predicting object movements. The sensors should detect objects consistently without any false positives or negatives, ensuring the system functions flawlessly. If you notice any anomalies during the Mercedes Benz repair process or subsequent tests, address them promptly as these issues could compromise safety and overall performance.
After replacing your Tesla ultrasonic sensor cover, it’s crucial to test its obstacle detection capabilities thoroughly. By following the step-by-step guide outlined in this article, you’ve taken a significant step towards ensuring optimal performance and enhanced safety for your vehicle. Remember that a well-functioning ultrasonic sensor system is vital for navigating through bustling urban environments and parking with precision. Through regular maintenance and prompt replacement when needed, you can keep your Tesla’s obstacle detection technology at its game-changer level.