


The Tesla Ultrasonic Sensor Cover Replacement is a critical task for maintaining advanced driver-assistance systems (ADAS) and autonomous driving features, enhancing safety and the driving experience. While professional body shops offer precise alignment and calibration services, DIY enthusiasts can follow a guide to replace the cover themselves, ensuring clean installation and optimal sensor performance. Tesla, known for high repair standards, uses certified technicians and genuine parts to maintain structural integrity and adherence to environmental regulations, fostering owner trust in reliability.
Looking to fix your malfunctioning Tesla ultrasonic sensor cover? This comprehensive guide delves into the process of a Tesla ultrasonic sensor cover replacement, offering a step-by-step approach for DIY enthusiasts. We explore the critical function of these sensors in Tesla vehicles and emphasize the importance of adhering to Tesla repair standards for guaranteed quality and safety. Get ready to tackle this common Tesla repair with confidence.
- Understanding Tesla's Ultrasonic Sensor and Its Function
- Step-by-Step Guide: Replacing the Ultrasonic Sensor Cover
- Tesla Repair Standards: Ensuring Quality and Safety
Understanding Tesla's Ultrasonic Sensor and Its Function
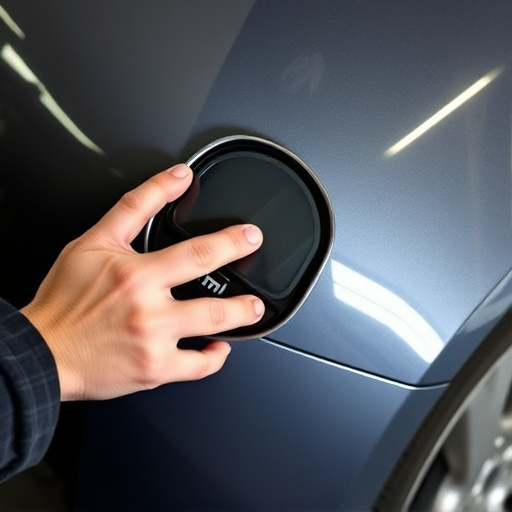
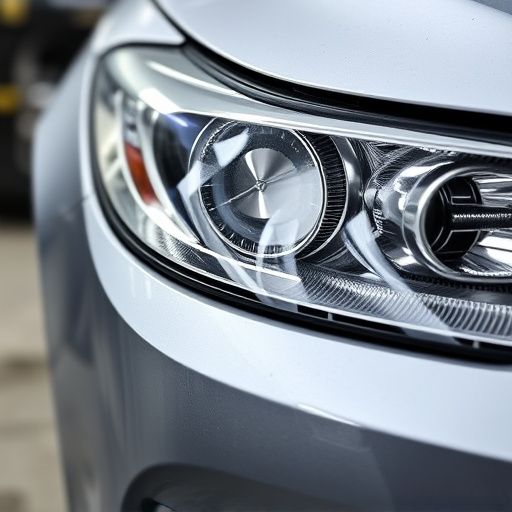
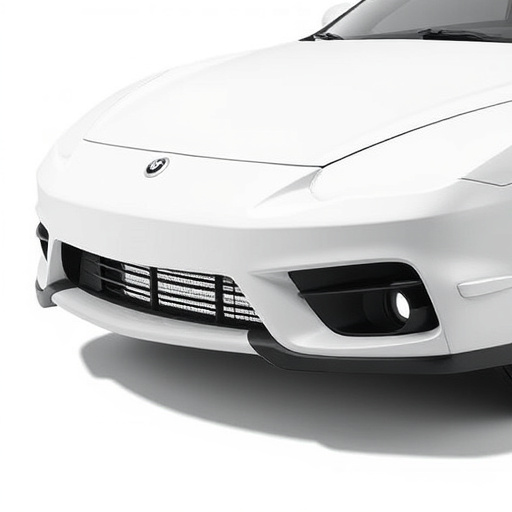
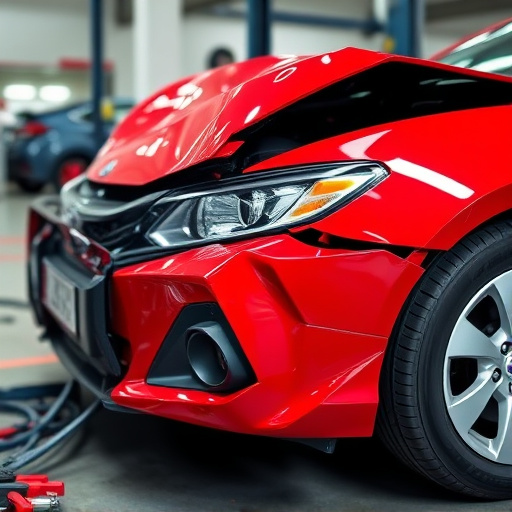
The Tesla Ultrasonic Sensor is a crucial component that plays a vital role in advanced driver-assistance systems (ADAS) and autonomous driving capabilities. This sensor uses ultrasonic waves to detect objects around the vehicle, helping with features like parking assistance, lane departure warnings, and automatic emergency braking. The sensor is typically housed within a protective cover on the exterior of the vehicle, which can be replaced if damaged or worn out.
A Tesla ultrasonic sensor cover replacement involves more than just swapping out the outer casing. It requires a thorough understanding of the car repair services needed to ensure proper alignment and functionality of the sensor. A reputable vehicle body shop will have the expertise and tools to accurately calibrate and test the sensor after installation, guaranteeing that it performs optimally in all conditions, enhancing safety and driving experience for Tesla owners.
Step-by-Step Guide: Replacing the Ultrasonic Sensor Cover
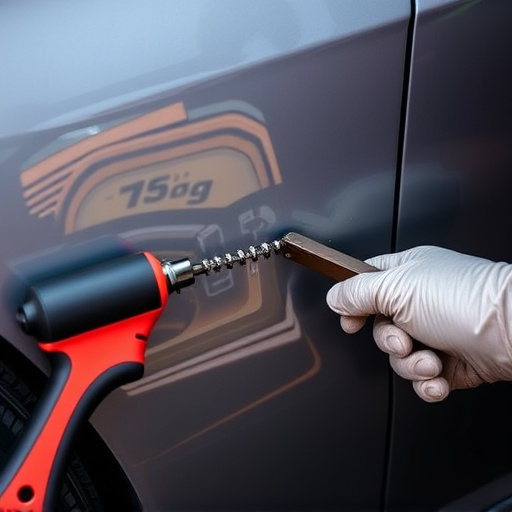
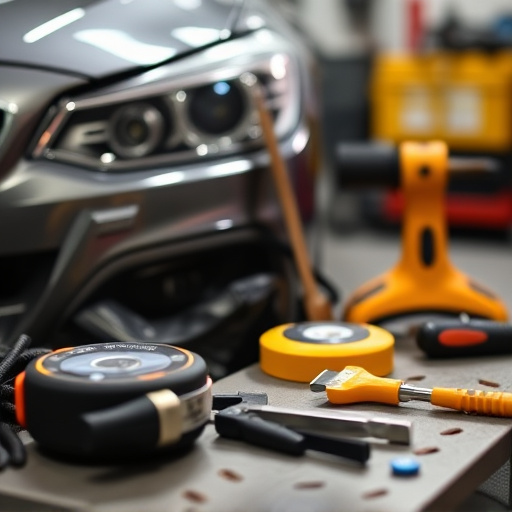
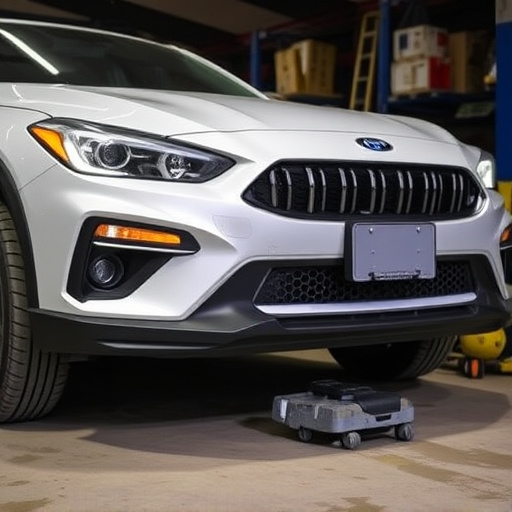
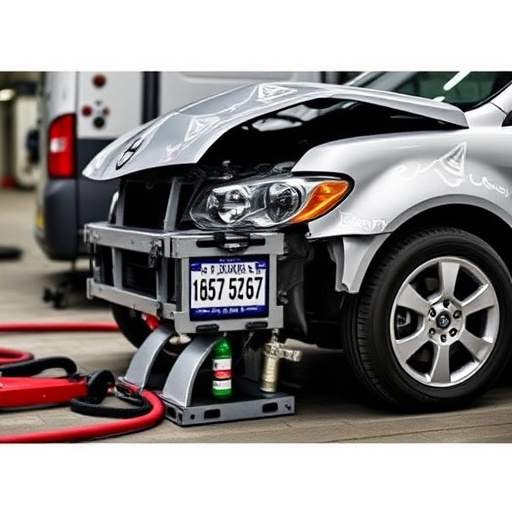
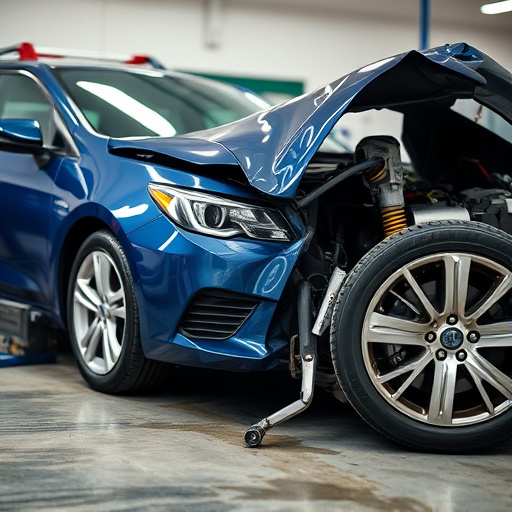
Replacing a Tesla’s ultrasonic sensor cover is a straightforward process that can be accomplished with the right tools and guidance. Here’s a step-by-step guide to help you through it. Begin by gathering all necessary parts, including the new cover, screws, and any other hardware specific to your model. Ensure you have a clean, well-lit workspace for maximum efficiency. Next, locate the ultrasonic sensor on your Tesla—it’s typically found near the front or rear bumpers. Gently remove any existing covers or trim pieces surrounding the sensor to access it fully. With the sensor exposed, unscrew the old cover and set it aside carefully. Clean the area around the sensor to eliminate any dirt or debris that might interfere with its operation. Once prepared, install the new ultrasonic sensor cover by aligning it precisely with the sensor and securing it with the provided screws. Ensure all components are firmly in place before moving on. This meticulous process guarantees a seamless fit, enhancing your Tesla’s overall appearance and performance.
Tesla Repair Standards: Ensuring Quality and Safety
Tesla, being a pioneer in electric vehicle technology, sets high standards when it comes to repairs and replacements. When dealing with components like the Tesla ultrasonic sensor cover, which is crucial for safety features such as automatic emergency braking and lane departure warning, adhering to stringent guidelines is non-negotiable. These repair standards encompass not just structural integrity but also the proper disposal of waste and adherence to environmental regulations.
The process involves certified technicians who undergo specialized training in Tesla ultrasonic sensor cover replacement, ensuring a seamless fit and optimal functionality. This attention to detail extends to using genuine parts or equivalents that meet the exacting specifications set by Tesla. By maintaining these standards, the company guarantees not only the quality of repairs but also the safety of its vehicles on the road, fostering trust among owners who value reliability and peace of mind.
Replacing your Tesla’s ultrasonic sensor cover is a straightforward process that, when done correctly, aligns with the brand’s high repair standards. By understanding the vital role of the ultrasonic sensor in autonomous driving and following a detailed guide, you can ensure a seamless experience. Remember, maintaining top-tier quality and safety is paramount, especially for electric vehicle repairs, making Tesla’s rigorous standards a benchmark for all replacements. For anyone tackling this task, keeping these principles in mind will result in a successful Tesla ultrasonic sensor cover replacement.