


The Tesla ultrasonic sensor cover is vital for ADAS functions and safety systems. Regular inspection and prompt repair of damage is crucial. Replacement involves removing old cover, cleaning mounting surface, installing new one with precision alignment, and securing it. Testing ensures sensor functionality, and regular inspections catch further damage early. DIY approach offers cost-effectiveness but complex issues require professional help. Meticulous pre-replacement inspection using tools like flashlights and magnifying glasses is key to maintaining Tesla's visual appeal, longevity, and resale value.
“Maintain your Tesla’s safety features with this comprehensive guide to Tesla ultrasonic sensor cover replacement. Ultrasonic sensors play a crucial role in advanced driver-assistance systems (ADAS), ensuring collision avoidance. This article delves into the functionality of these sensors and offers a step-by-step replacement guide for damaged covers.
Additionally, discover best practices for assessing exterior damage to your Tesla, focusing on safety and effective repair techniques.”
- Understanding Tesla Ultrasonic Sensor Functionality
- Step-by-Step Replacement Guide for Damage Repair
- Assessing Exterior Damage: Precautions and Best Practices
Understanding Tesla Ultrasonic Sensor Functionality

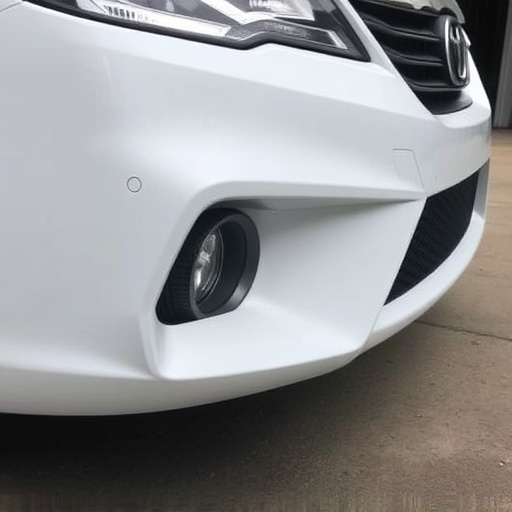
The Tesla ultrasonic sensor is a critical component of the vehicle’s advanced driver-assistance systems (ADAS). This innovative technology utilizes high-frequency sound waves to detect objects around the car, enabling features like automatic emergency braking, lane departure warning, and parking assistance. By continuously monitoring the surroundings, the sensors provide real-time data to enhance safety and drive confidence.
When it comes to Tesla ultrasonic sensor cover replacement, understanding the functionality is key. Damage or disruption to these sensors can impact the overall performance of ADAS features. Regular checks and prompt repairs for any cracks, chips, or debris around the sensor covers are essential, as even minor issues can compromise the car’s safety systems. A thorough exterior damage assessment, including inspection of bumper repair and car bodywork, is vital to ensure optimal sensor functionality.
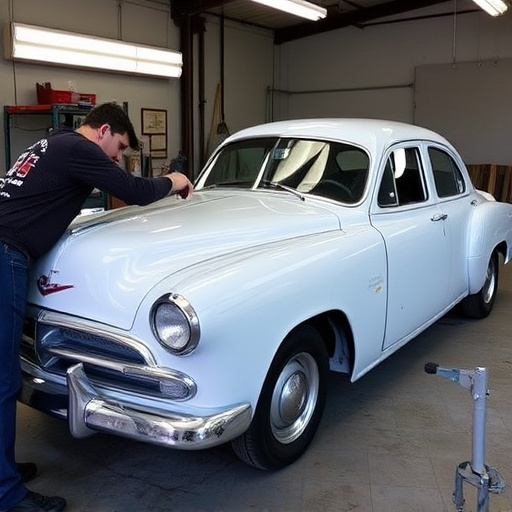
Step-by-Step Replacement Guide for Damage Repair

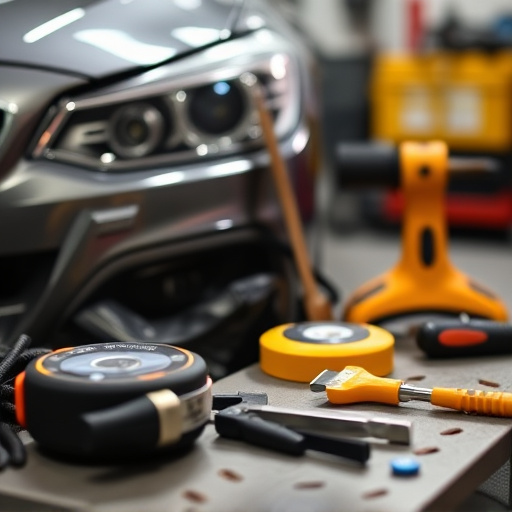
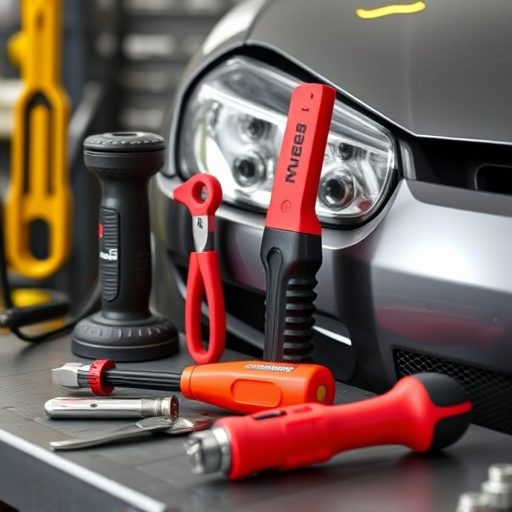
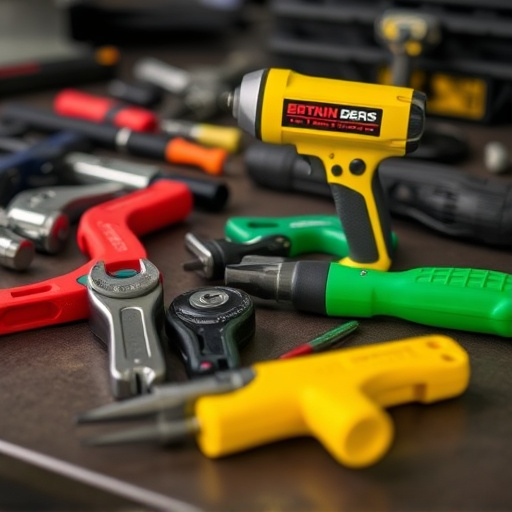
Replacing a damaged Tesla ultrasonic sensor cover is a straightforward process that can be accomplished with the right tools and guidance. Here’s a step-by-step guide to help you navigate this repair, ensuring your car looks as good as new. First, gather all necessary replacement parts, including the new ultrasonic sensor cover. Next, locate the damaged area on your Tesla’s exterior, typically around the bumpers or sides. Using a phillips head screwdriver, carefully remove any screws securing the old cover in place. Gently pull the cover off, taking note of how it aligns and connects to the car’s frame. Clean the surface where the cover will be reinstalled, ensuring no debris or dirt remains. Fit the new ultrasonic sensor cover over the mounting holes, aligning it precisely with the existing structure. Secure it firmly with screws, following the original tightening pattern. Test the sensors by driving at low speeds and using reverse assistance to ensure proper functionality. Regularly inspect your Tesla for any signs of further damage, and don’t hesitate to reach out to professional automotive repair services if needed.
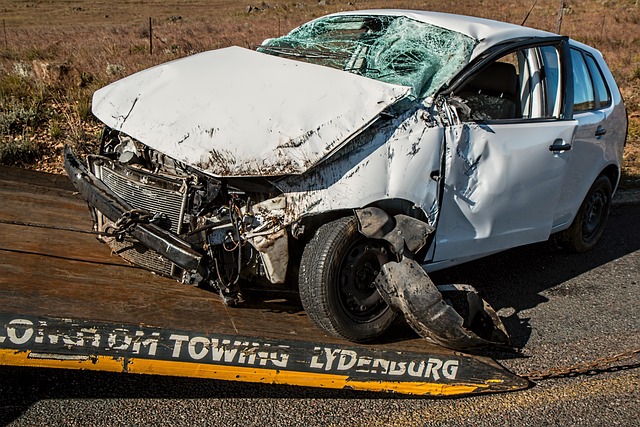
Assessing Exterior Damage: Precautions and Best Practices

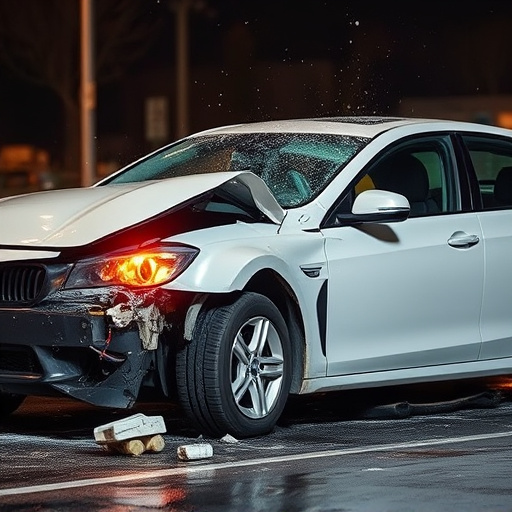
When assessing exterior damage on a Tesla, especially in preparation for a Tesla ultrasonic sensor cover replacement, it’s crucial to approach the process with care and precision. The first step is to thoroughly inspect every angle and surface of the vehicle, keeping an eye out for signs of hail damage repair or other impacts that might have affected the car body restoration. This involves using appropriate tools like flashlights and magnifying glasses to detect subtle imperfections or discrepancies in the paintwork and panel alignment.
Best practices include taking detailed photos during the assessment process, which can serve as a before-and-after reference for repairs. Additionally, ensure proper ventilation in the work area to avoid inhaling harmful chemicals from cleaning products or adhesives used during car bodywork restoration. Remember that patience and meticulousness are key; addressing exterior damage accurately will not only enhance the visual appeal of your Tesla but also contribute to its overall longevity and resale value.
Replacing a Tesla ultrasonic sensor cover is a straightforward process that, when combined with proper exterior damage assessment, can help maintain the safety and aesthetic appeal of your vehicle. By understanding the functionality of these sensors and following a structured guide, you can effectively repair minor damages. Remember to prioritize safety and use appropriate precautions during the replacement process. With these steps in mind, you’re well-equipped to handle any minor dents or scuffs, ensuring your Tesla remains in top condition both inside and out. For any significant exterior damage, however, it’s advisable to consult a professional for expert assistance.