


Tesla's ultrasonic sensor cover, a protective layer for their advanced driver assistance systems (ADAS) sensors, is crucial for collision prevention and safe autonomous driving. Regular replacement is essential due to environmental damage, ensuring accurate object detection during low-speed maneuvers. The simple and cost-effective replacement process involves locating the sensors, removing the old cover, cleaning the area, installing a new one precisely aligned with mounting holes, and double-checking sensor orientation for optimal performance, especially after collision repair or restoration.
“Looking to enhance your Tesla’s safety features? Consider a Tesla ultrasonic sensor cover replacement, especially if you’ve noticed any rain sensor proximity issues. This guide delves into the crucial role of Tesla’s ultrasonic sensors in collision avoidance and why their covers can require replacement over time.
We’ll walk you through a step-by-step process to ensure your vehicle’s advanced driver-assistance systems (ADAS) function optimally, improving both safety and performance.”
- Understanding Tesla's Ultrasonic Sensors and Their Functionality
- Why Replace the Ultrasonic Sensor Cover?
- Step-by-Step Guide to Replacing Your Tesla Ultrasonic Sensor Cover
Understanding Tesla's Ultrasonic Sensors and Their Functionality
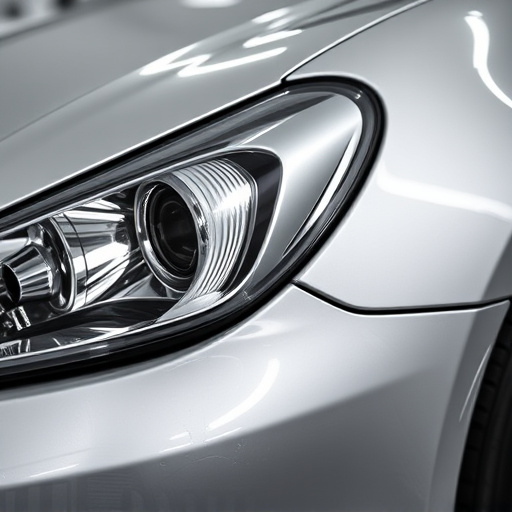
Tesla’s Ultrasonic Sensors are integral components that enable advanced driver-assistance systems (ADAS) and safety features in their vehicles. These sensors use high-frequency sound waves to detect objects, measuring distances with remarkable accuracy. By integrating this technology into their cars, Tesla enhances key functions such as automatic emergency braking, lane departure warning, and adaptive cruise control. The ultrasonic sensor cover, a protective layer that houses these delicate instruments, is crucial for maintaining functionality and preventing damage from elements like dirt, debris, or small collisions.
When considering a Tesla ultrasonic sensor cover replacement, it’s essential to understand the intricate role these sensors play in modern automobiles. Unlike traditional sensors that rely on cameras or radar, ultrasonic sensors offer advantages like excellent penetration of rain, snow, and fog, making them ideal for all-weather driving conditions. Moreover, their non-intrusive nature means they can be discreetly installed, contributing to Tesla’s sleek vehicle design. In the event of a vehicle collision repair or frame straightening, ensuring these sensors are in optimal condition is vital for restoring the car’s safety and advanced driver assistance capabilities.
Why Replace the Ultrasonic Sensor Cover?
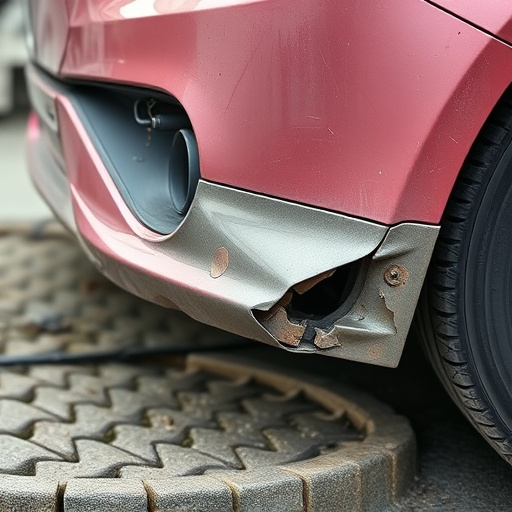
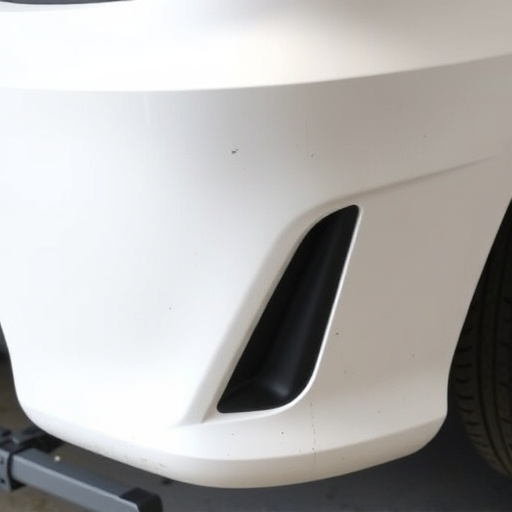
The Tesla ultrasonic sensor cover is an essential component of your vehicle’s collision prevention system, designed to detect obstacles and assist in parking or autonomous driving. Over time, however, this protective cover can become damaged due to environmental factors like hail, debris, or minor collisions, compromising its effectiveness. Replacing the ultrasonic sensor cover isn’t just about aesthetics; it’s a crucial step in ensuring your Tesla’s safety features remain reliable. A cracked or broken cover may fail to detect obstacles accurately, leaving your vehicle vulnerable during low-speed maneuvers or while navigating tight spaces.
Regular replacement, especially if you’ve experienced previous auto bodywork damage, can prevent these issues and maintain the overall functionality of your car’s proximity sensors. Unlike paintless dent repair techniques for minor auto body dents, replacing the ultrasonic sensor cover is a straightforward process that requires minimal time and resources. By keeping these sensors well-protected, you’re making a proactive investment in your Tesla’s safety and peace of mind.
Step-by-Step Guide to Replacing Your Tesla Ultrasonic Sensor Cover
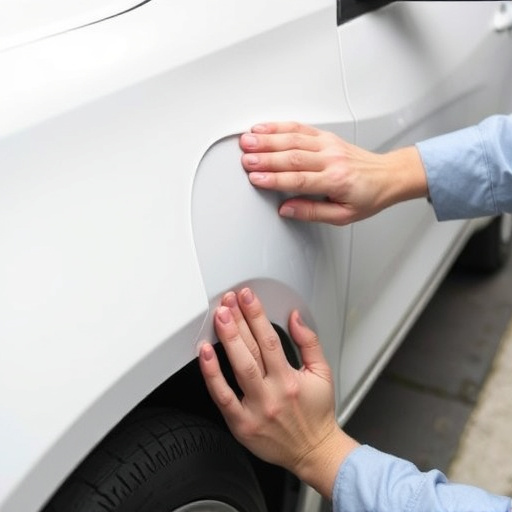
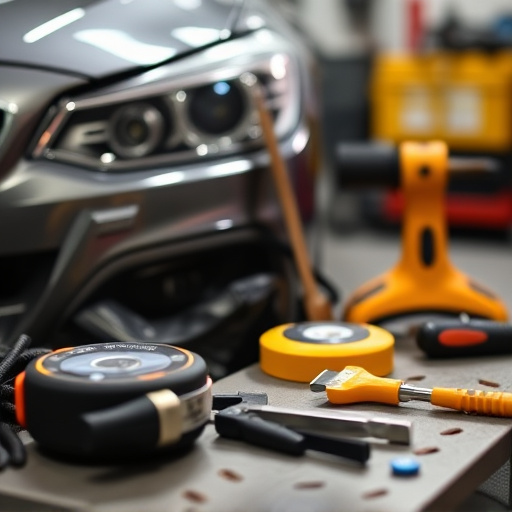
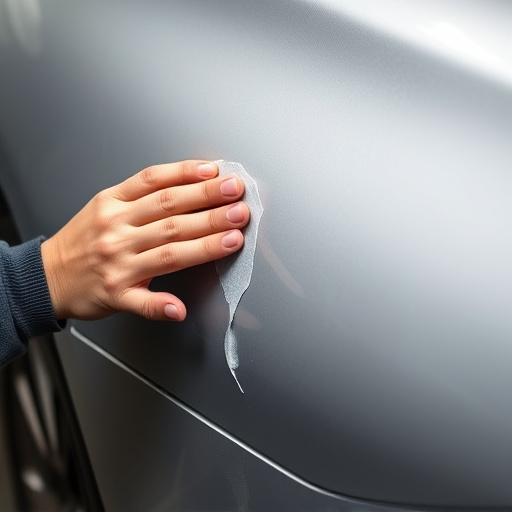
Replacing your Tesla ultrasonic sensor cover is a straightforward process that can be accomplished with the right tools and a few simple steps. Begin by locating the sensors, typically found around the vehicle’s exterior, near the front and rear bumpers. Next, gather your replacement parts, ensuring they are compatible with your Tesla model. Turn off the car and use a suitable tool to gently pry off the old cover, taking note of its positioning for reference. With the old cover removed, carefully clean the area to eliminate any dirt or debris that may interfere with sensor functionality.
Once the surface is clean, install the new ultrasonic sensor cover by aligning it precisely with the existing mounting holes. Secure it in place using the appropriate fasteners, ensuring a tight fit. Double-check the sensor’s orientation and connectivity before reassembling any surrounding panels or components. Remember, proper alignment is crucial for optimal sensor performance, especially for tasks like auto collision repair or vehicle restoration.
Upgrading or replacing your Tesla ultrasonic sensor cover is a straightforward process that can significantly enhance your vehicle’s safety features. By following these simple steps, you can ensure optimal performance for both the ultrasonic sensors and rain sensors, providing better navigation and protection against accidents in various weather conditions. Remember, a well-maintained Tesla is a safer Tesla, so don’t hesitate to invest in this crucial component. For those seeking a practical and efficient way to maintain their Tesla’s safety systems, the replacement of the ultrasonic sensor cover is highly recommended.