


Before replacing a Tesla ultrasonic sensor cover, gather tools and parts from trusted sources, ensuring compatibility with your model. Remove the old cover, inspect for damage, and clean the area. Align and secure the new cover precisely for optimal fitment. Thoroughly test sensor functionality at various speeds and angles to ensure accurate obstacle detection without false readings after replacement.
Looking to replace your Tesla’s ultrasonic sensor cover? This step-by-step guide will walk you through the process, ensuring a smooth and successful upgrade. We’ll cover all you need to know, from gathering the necessary tools and parts to testing functionality after installation. Follow these detailed steps for a precise Tesla ultrasonic sensor cover replacement that maintains your vehicle’s safety and aesthetic appeal.
- Gather Necessary Tools and Parts for Replacement
- Remove Old Sensor Cover and Inspect Damage
- Install New Cover and Test Functionality
Gather Necessary Tools and Parts for Replacement
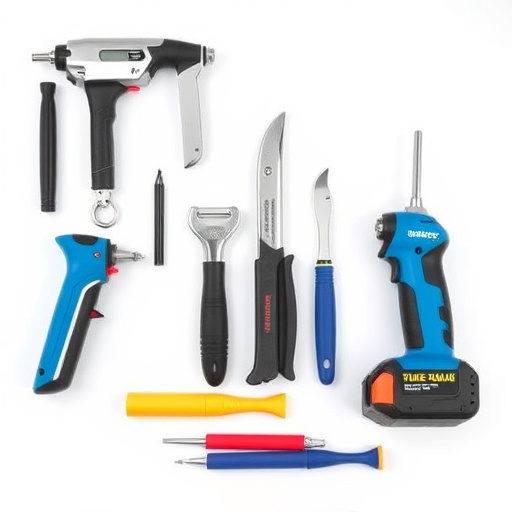
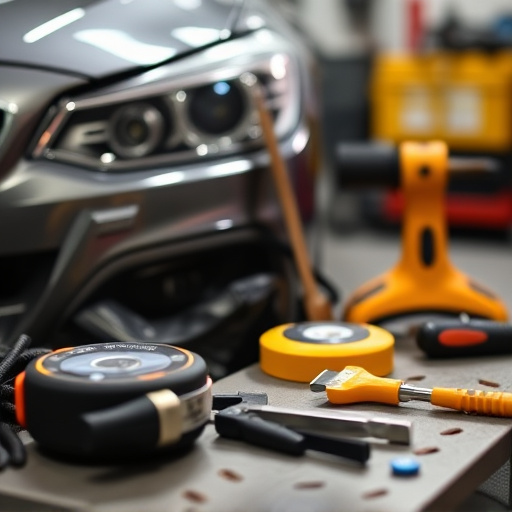
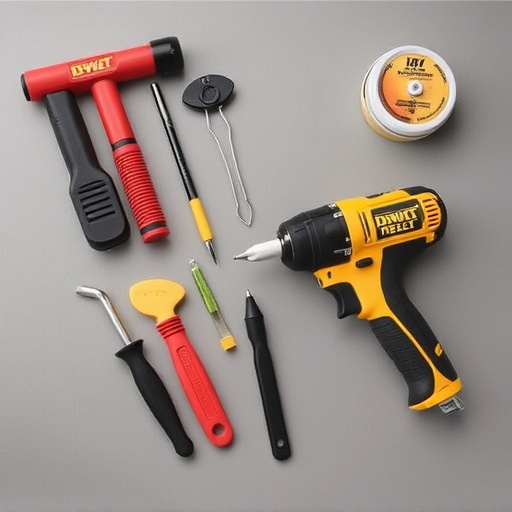
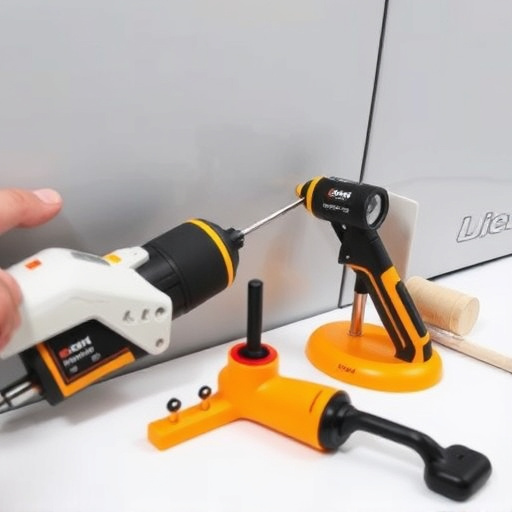
Before embarking on a Tesla ultrasonic sensor cover replacement, ensure you have all the necessary tools and parts to navigate this procedure smoothly. This includes acquiring a high-quality replacement cover specifically designed for your Tesla model, along with basic automotive tools such as screwdrivers, pliers, and a plastic welding kit or adhesive suitable for car components. It’s advisable to source these from reputable auto parts suppliers or Tesla official stores to guarantee authenticity and compatibility.
Additionally, consider having a spare set of clean rags, gloves, and safety goggles on hand. These protective gear are crucial for maintaining cleanliness and preventing damage during the replacement process. While many tasks can be handled by an avid car enthusiast, intricate procedures like this might require the expertise of an auto body repair shop, especially if you’re not familiar with the intricacies of automotive body repairs.
Remove Old Sensor Cover and Inspect Damage
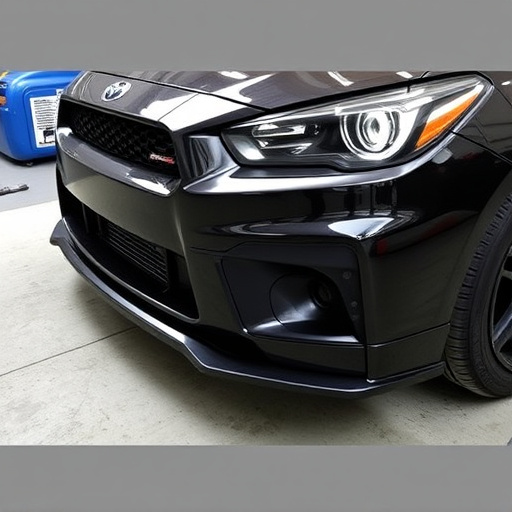
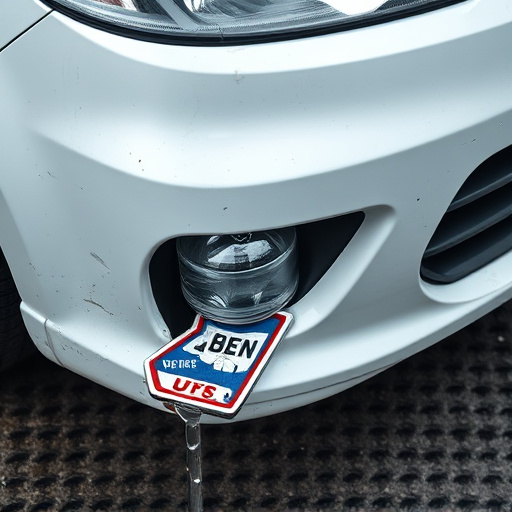
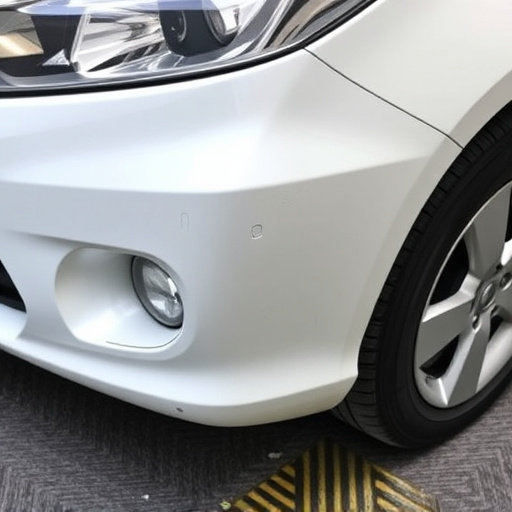
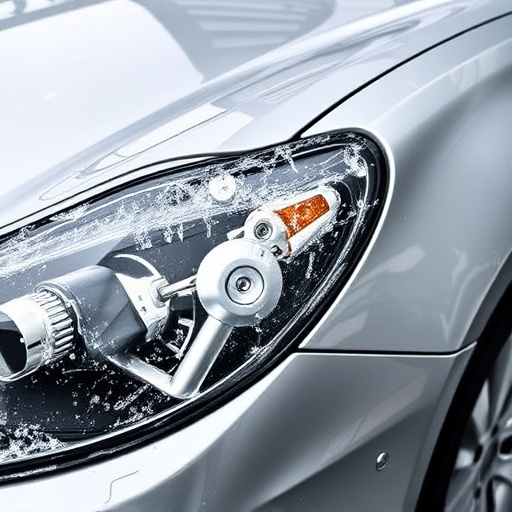
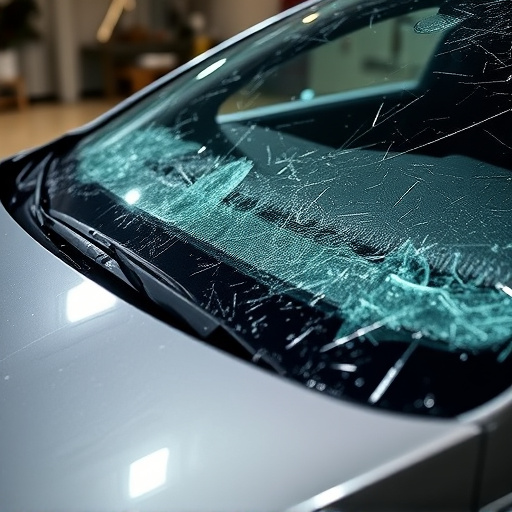
When preparing for a Tesla ultrasonic sensor cover replacement, the first step is to meticulously remove the old one and carefully inspect any damage that may have occurred. This involves carefully detaching the sensor from its mounting point, taking note of any screws or fasteners used, and assessing the condition of the surrounding area. It’s crucial to identify any dents, cracks, or scratches on the vehicle’s body, as these could affect the new cover’s fitment and overall performance.
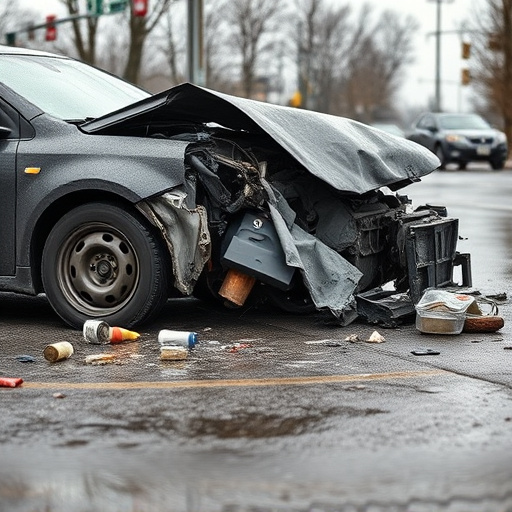
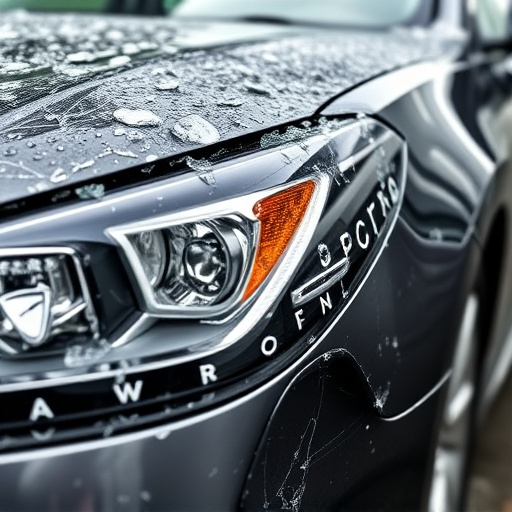
During this process, pay close attention to the sensor itself—check for any visible signs of damage or debris accumulation. This step is vital as it ensures that you’re replacing the cover with a pristine component, enhancing the likelihood of optimal functionality. Moreover, understanding the extent of the damage will help when comparing fitment with genuine Tesla replacement parts, ensuring a seamless and effective Tesla ultrasonic sensor cover replacement, even after potential incidents like mercedes benz collision repair or hail damage repair.
Install New Cover and Test Functionality
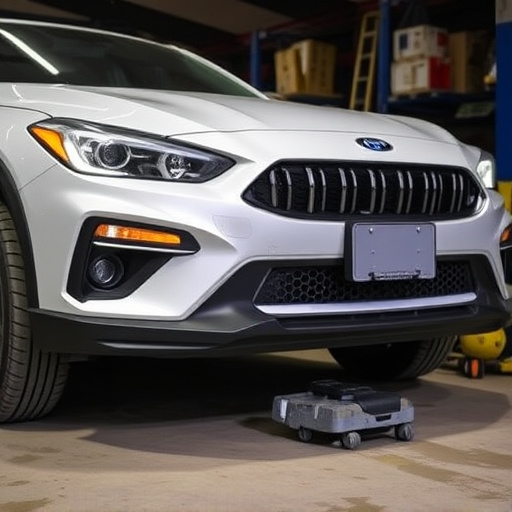
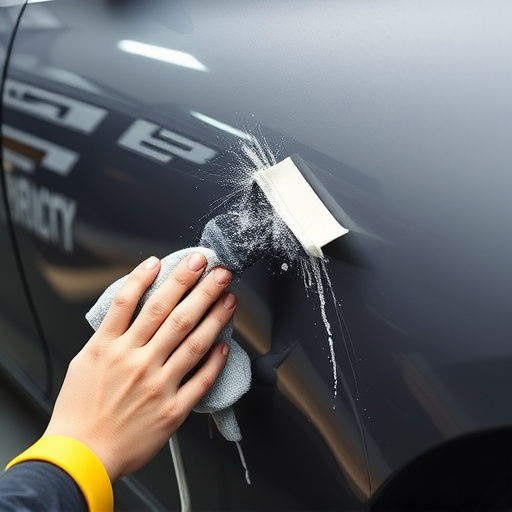
After successfully replacing the Tesla ultrasonic sensor, it’s time to install the new cover and test its functionality. Begin by carefully positioning the cover over the sensor, ensuring a secure fit. The cover should align perfectly with the car’s exterior, seamlessly integrating back into the vehicle’s design. Tighten any necessary fasteners or clips to keep the cover in place.
Once the cover is securely installed, conduct a thorough test of the ultrasonic sensors’ performance. Drive your Tesla at various speeds and angles to ensure the sensors are accurately detecting obstacles. Check for any erratic behavior or false readings. If everything functions as expected, you’ve successfully completed the Tesla ultrasonic sensor cover replacement and restored optimal safety features for your vehicle, much like fixing a fender bender in an automotive body shop, ensuring smooth fender repair.
Replacing a Tesla ultrasonic sensor cover is a straightforward process that can be accomplished with minimal effort using the right tools and parts. By following these simple steps, outlined in this guide, you’ll not only ensure your vehicle’s safety features remain functional but also restore its aesthetic appeal. Remember, proper fitment is crucial for optimal performance, so take your time inspecting the damage and aligning the new cover accurately. With a bit of patience, you’ll have successfully completed a Tesla ultrasonic sensor cover replacement, enhancing both your car’s security and curb appeal.