


The Tesla ultrasonic sensor cover and trim replacement is vital for collision damage repair, enhancing ADAS safety features. Beforehand, prepare a clean workspace and protect surrounding surfaces. Organize tools and parts for efficient reinstallation focusing on precise alignment. Replace the cover, then reinstall trim pieces accurately using original fasteners. This process ensures optimal functionality and seamless integration in vehicle bodywork.
Looking to replace your Tesla’s ultrasonic sensor cover? You’re in the right place! This guide provides a comprehensive step-by-step process for successfully replacing your Tesla ultrasonic sensor cover and reinstalling the trim. We’ll walk you through understanding the sensor’s functionality, gathering necessary tools, and reassembling like new. Get ready to tackle this task with confidence and keep your Tesla running smoothly.
- Understanding Tesla Ultrasonic Sensor Functionality
- Preparing for Cover Replacement and Trim Reinstallation
- Step-by-Step Guide to Seamless Reassembly
Understanding Tesla Ultrasonic Sensor Functionality
The Tesla Ultrasonic Sensor is a crucial component for advanced driver-assistance systems (ADAS) and autonomous driving capabilities. It plays a vital role in collision damage repair and dent removal processes, ensuring the vehicle’s safety and efficiency. These sensors use high-frequency sound waves to detect objects around the car, from other vehicles to pedestrians. By mapping these sounds, the system can determine distance and velocity, enabling features like automatic emergency braking, lane departure warning, and park assist.
When a Tesla vehicle experiences a fender bender or any incident causing damage to the ultrasonic sensor cover, proper replacement is essential. The process involves not only swapping the damaged cover but also reinstalling the sensor trim to maintain optimal functionality. This ensures that the sensor remains aligned and performs accurately in real-world driving conditions, ultimately contributing to a safer driving experience.
Preparing for Cover Replacement and Trim Reinstallation
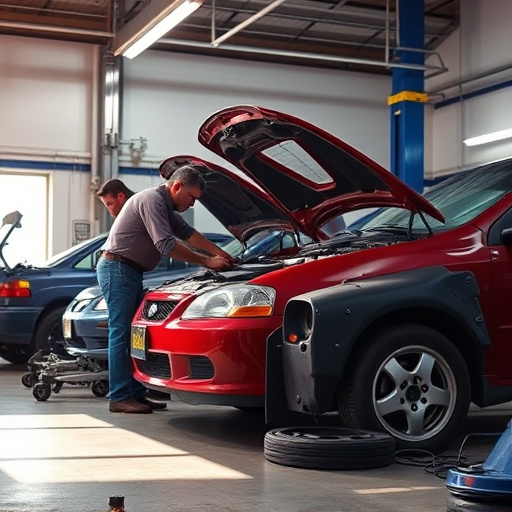
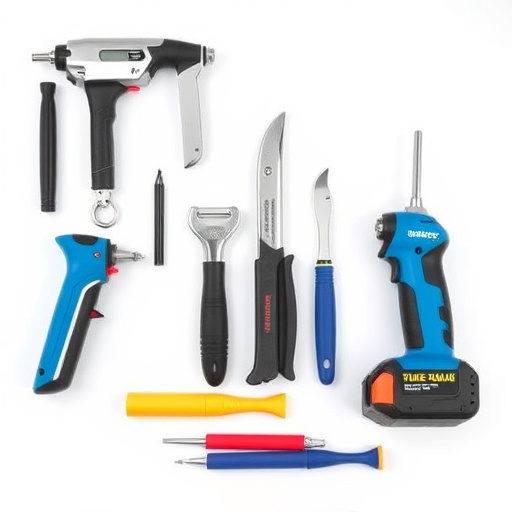
Before tackling a Tesla ultrasonic sensor cover replacement and trim reinstallation, it’s crucial to prepare your workspace and gather all necessary tools. Begin by parking your vehicle on a level surface for stability during the process. Ensure proper lighting in your work area for clear visibility of intricate details. Protecting nearby surfaces with drop cloths or paper towels is essential to prevent damage from debris or overspray during car dent removal if necessary.
Organize your replacement parts, including the new ultrasonic sensor cover and trim pieces, along with any hardware. Double-check compatibility with your Tesla model. Having a clean, organized space will make the reinstallation process smoother, allowing you to focus on precise alignment and secure fastening of the components, ultimately ensuring a seamless fit in your car bodywork.
Step-by-Step Guide to Seamless Reassembly
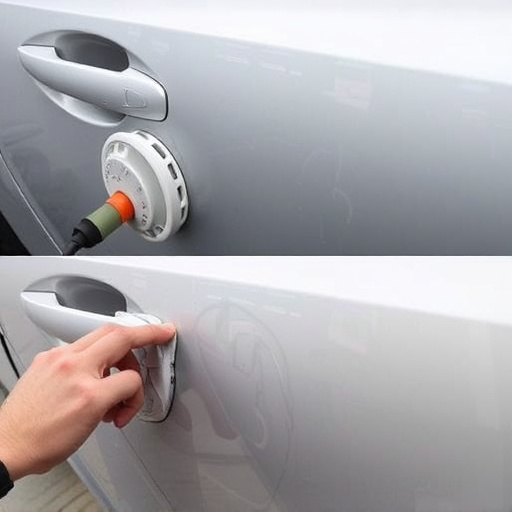
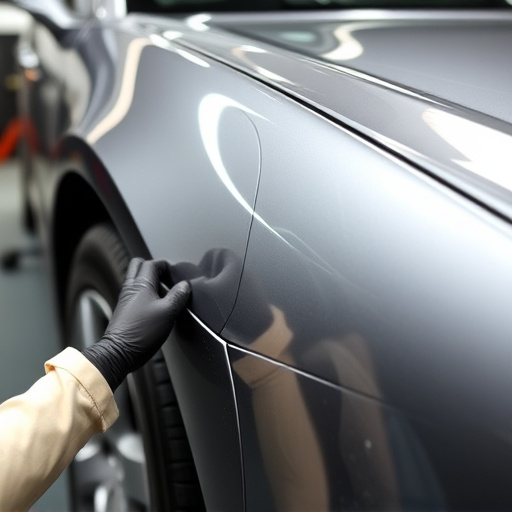
Reassembling your Tesla after a Tesla ultrasonic sensor cover replacement is straightforward with a systematic approach. Begin by securing the new sensor cover, ensuring it aligns perfectly with the car’s contour. Next, reinstall the trim pieces that were removed during the process, using the original fasteners and following the vehicle’s specific assembly manual for accurate positioning.
Visualize each step to avoid misalignment and ensure a seamless fit. This meticulous process, involving both Tesla ultrasonic sensor cover replacement and subsequent trim reinstatement, can be easily managed by an experienced car collision repair specialist or through guidance from reputable auto collision centers.
Upgrading or replacing your Tesla ultrasonic sensor cover is a straightforward process that can significantly enhance both the aesthetics and functionality of your vehicle. By following these simple steps and tips, you can ensure a seamless reinstallation of the trim, maintaining the safety features that make Tesla vehicles stand out. Remember, a well-maintained exterior not only boosts your car’s appearance but also contributes to its overall performance and longevity. So, take on this DIY project with confidence, and enjoy the improved look and working order of your Tesla’s ultrasonic sensors.