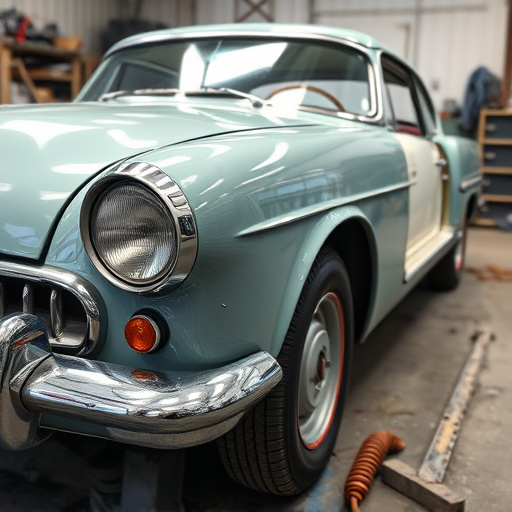


Tesla ultrasonic sensor cover replacements are crucial for collision avoidance systems after body work like fender repairs. This guide outlines a precise process: prepare tools, remove old covers carefully, clean areas, install new covers accurately, and use model-specific parts for optimal performance. For issues or suspected damage, consult a professional auto repair service.
Looking to replace your Tesla ultrasonic sensor cover after a fender panel swap? This guide is for you. We’ll walk you through understanding the crucial role of Tesla’s ultrasonic sensors in safety features, then provide a step-by-step process for removing old covers and installing fresh replacements. Keep your vehicle’s self-parking and collision avoidance systems functioning optimally with this essential Tesla ultrasonic sensor cover replacement tutorial.
- Understanding Tesla Ultrasonic Sensor Functionality
- Step-by-Step Guide: Removing Old Covers
- Installing New Ultrasonic Sensor Cover Replacements
Understanding Tesla Ultrasonic Sensor Functionality
The Tesla Ultrasonic Sensor is a vital component in the vehicle’s advanced safety system. It plays a crucial role in detecting obstacles and helping to prevent collisions, especially during low-speed maneuvers or parking. These sensors emit high-frequency sound waves that bounce off objects, providing real-time data on nearby vehicles, pedestrians, or barriers. This information is then processed by the car’s computer to calculate distances and enable features like automatic emergency braking, lane departure warning, and parallel park assistance.
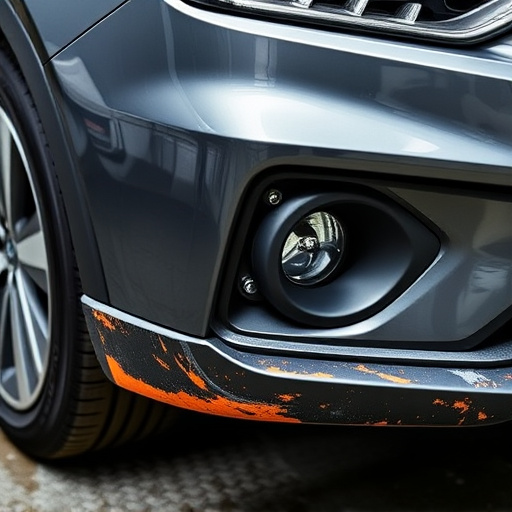
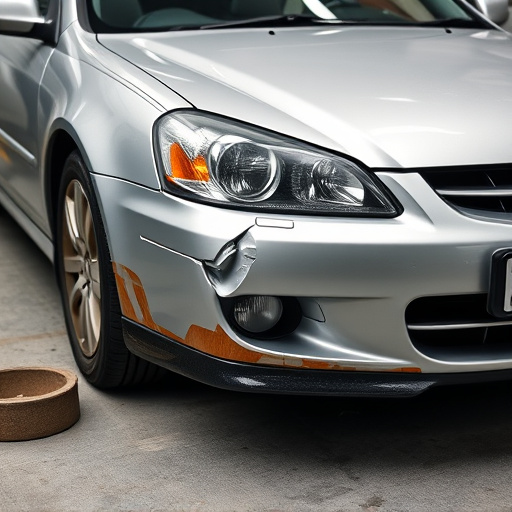
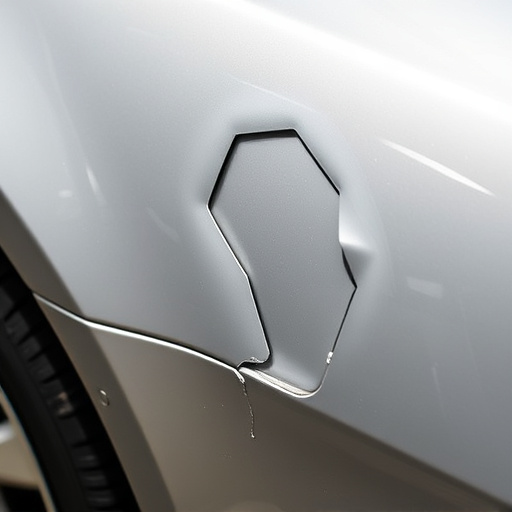
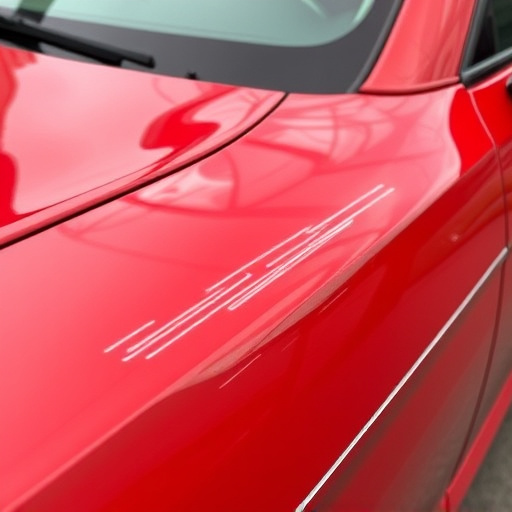
When performing an automotive body work swap, such as replacing a fender after a minor accident (fender bender), ensuring proper functionality of these sensors is essential. A Tesla ultrasonic sensor cover replacement might be necessary if the original cover has been damaged or corrupted during the repair process. This simple vehicle repair can significantly impact the overall safety and performance of the car’s active safety systems, making it an important consideration for any owner undertaking such a task.
Step-by-Step Guide: Removing Old Covers
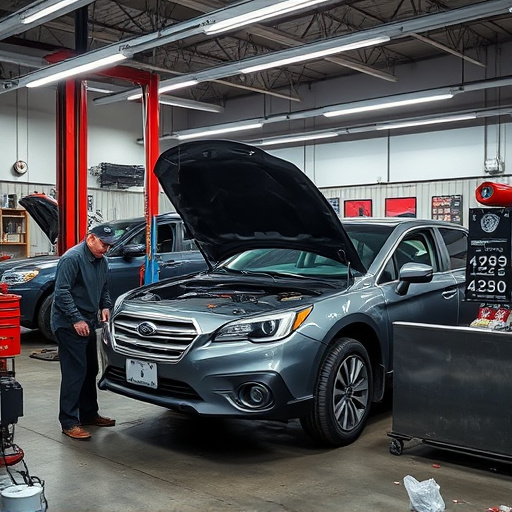
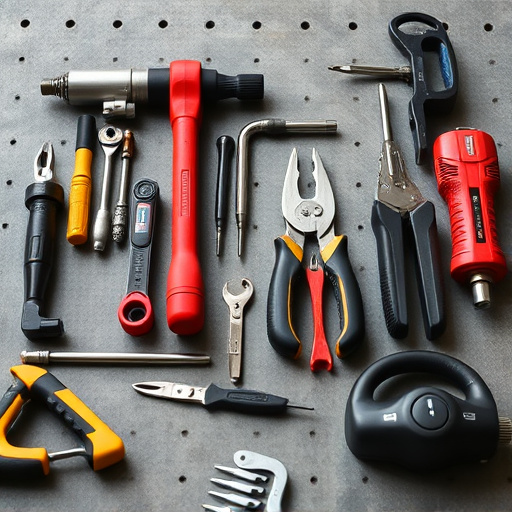
Removing the old Tesla ultrasonic sensor covers is a straightforward process but requires precision to avoid damaging the surrounding components. Begin by gathering all necessary tools and materials, including your new replacement covers. Next, locate the sensors on the fender panel—they are usually visible and marked for easy identification. Using a suitable tool like a plastic cutter or a spudger, carefully pry off the old cover from one corner, working your way around until it detaches completely. Take note of how the cover is attached to avoid any confusion during installation.
Inspect the sensor itself and ensure there’s no damage. If the sensor is intact, proceed with the Tesla ultrasonic sensor cover replacement, following similar steps as installing the new cover. Remember, patience and careful manipulation are key when dealing with delicate automotive parts, especially after an auto collision or scratch repair. Regular auto maintenance can help prevent such incidents, keeping your vehicle in top condition.
Installing New Ultrasonic Sensor Cover Replacements
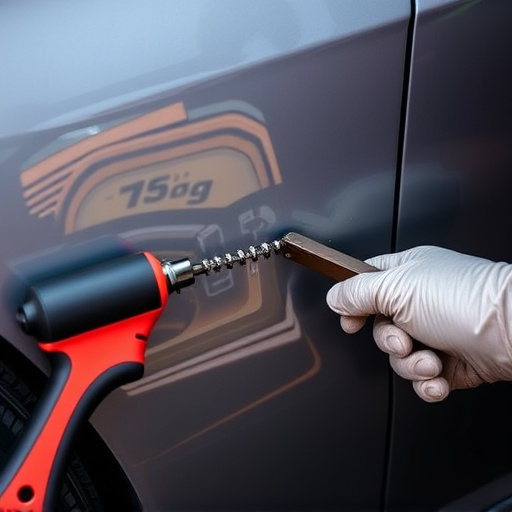
Installing new Tesla ultrasonic sensor cover replacements after a fender panel swap is a straightforward process that can be completed in a few simple steps. First, carefully remove the old sensor cover by detaching any adhesive or hardware holding it in place. Ensure you handle the sensors with care to avoid damage. Next, clean the area around the ultrasonic sensors to ensure optimal adhesion for the new cover. Once prepared, slip the new sensor cover into place, aligning it precisely with the sensors’ positioning. A gentle press will secure it in position.
For best results, use a high-quality replacement cover designed specifically for Tesla models to ensure seamless integration and reliable performance. Remember that accurate alignment is crucial for the ultrasonic sensors to function properly. If you’ve experienced collision damage repair or noticed any issues with your car’s sensors after a fender panel swap, consider a professional auto repair near you to assess and replace the ultrasonic sensor covers for enhanced safety and reliability. Car scratch repair techniques can also be employed to ensure your vehicle looks its best post-repair.
After successfully swapping your fender panel, ensuring proper functionality of your Tesla’s ultrasonic sensors is paramount. By following this step-by-step guide and investing in high-quality Tesla ultrasonic sensor cover replacements, you can restore your vehicle’s safety features, maintaining its cutting-edge technology and enhancing overall driving experience.