


Replacing a Tesla ultrasonic sensor cover with Original Equipment Manufacturer (OEM) parts is crucial for maintaining Advanced Driver Assistance Systems (ADAS) accuracy and reliability, ensuring superior car damage repair, and preserving warranty eligibility through precise fit, enhanced durability, and rigorous testing. The simple installation process involves gathering correct components, removing old cover, cleaning area, aligning new cover, securing with screws, and testing sensor functionality.
Tesla’s ultrasonic sensors are integral to their advanced driver-assistance systems (ADAS), ensuring safe navigation. When considering a Tesla ultrasonic sensor cover replacement, understanding the original equipment manufacturer (OEM) components’ significance is key. This guide delves into the functionality of these sensors, highlights the advantages of OEM replacements, and provides a comprehensive step-by-step installation process for your convenience.
- Understanding Tesla Ultrasonic Sensor Functionality
- Benefits of Using OEM Components for Replacement
- Step-by-Step Guide to Installing the New Cover
Understanding Tesla Ultrasonic Sensor Functionality
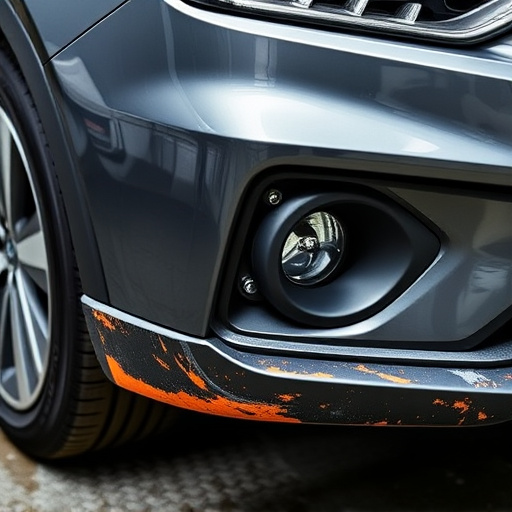
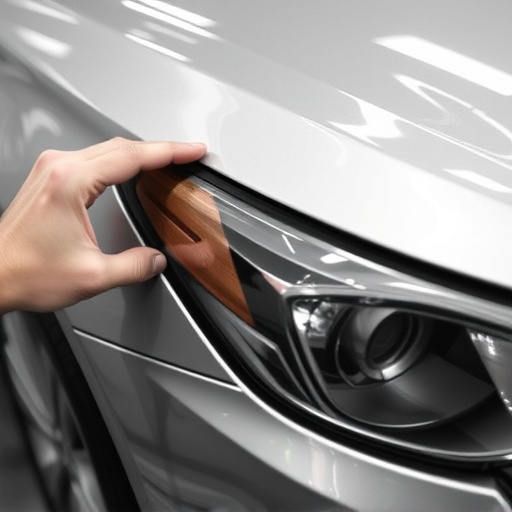
The Tesla Ultrasonic Sensor is a crucial component for the vehicle’s advanced driver-assistance systems (ADAS). This sensor uses ultrasonic waves to detect objects around the car, helping with features like parking assistance and automatic emergency braking. By emitting high-frequency sound waves, it creates a real-time map of the surroundings, enabling the vehicle to make informed decisions for safe navigation.
When considering a Tesla ultrasonic sensor cover replacement, understanding its functionality is essential. A damaged or faulty sensor can compromise the overall safety and performance of ADAS features. Therefore, using OEM (Original Equipment Manufacturer) components is recommended for accurate and reliable results. This ensures that the replacement covers not only protect the sensitive sensor but also maintain the vehicle’s ability to provide top-notch car damage repair and auto glass replacement services, ensuring customer satisfaction and peace of mind on the road.
Benefits of Using OEM Components for Replacement

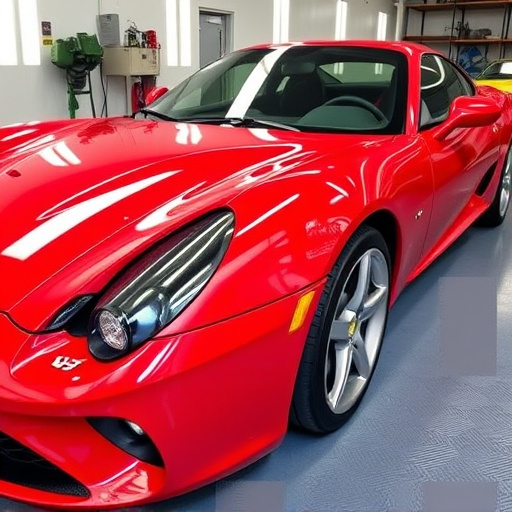
When it comes to replacing your Tesla’s ultrasonic sensor cover, using Original Equipment Manufacturer (OEM) components offers several significant advantages. These high-quality parts are designed specifically for your Tesla model, ensuring a perfect fit and seamless integration with your vehicle’s existing systems. By choosing OEM components, you can rest assured that the replacement will match the original in terms of performance, reliability, and aesthetics. This is particularly crucial for sensors, as any malfunction or misalignment could impact the car’s safety features and overall driving experience.
Compared to aftermarket alternatives, OEM parts provide a more reliable and durable solution. They undergo rigorous testing and quality control measures, guaranteeing their efficiency and longevity. Moreover, using genuine Tesla parts can help maintain the vehicle’s warranty eligibility, as many manufacturers offer coverage for OEM replacements. This ensures that in the event of any issues, you won’t encounter additional costs or complications, making it a hassle-free choice for both auto body repair specialists and car owners looking for top-tier repairs at their local car repair shop.
Step-by-Step Guide to Installing the New Cover
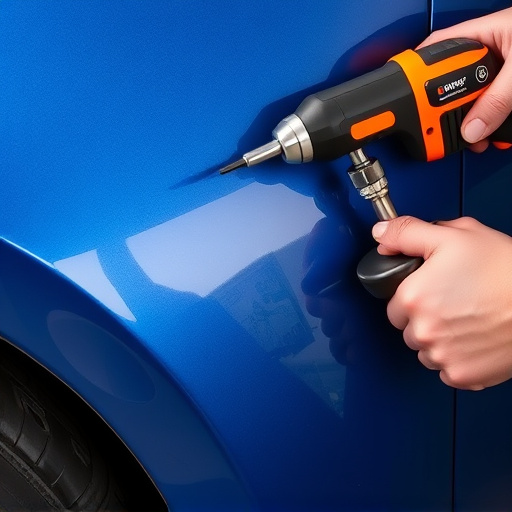
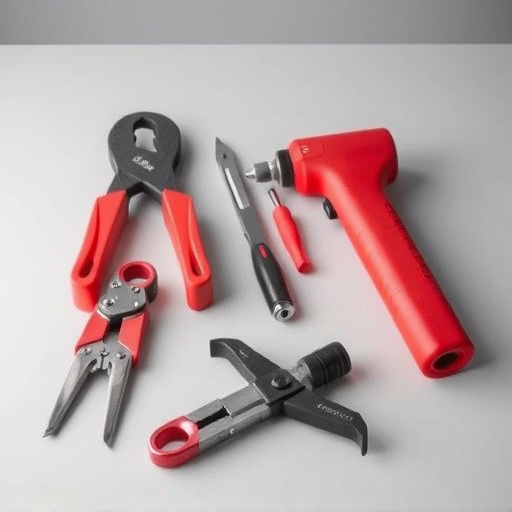
Installing a new Tesla ultrasonic sensor cover replacement is a straightforward process that can be accomplished with the right tools and a step-by-step approach. First, gather all necessary components, including the new OEM cover, screws, and any other hardware specified in your kit. Ensure your work area is clean and well-lit for better precision. Next, locate the ultrasonic sensors on your vehicle—they are typically found around the bumper or fenders. Remove the old cover carefully, taking note of how it was attached to avoid misplacing any screws. Clean the area thoroughly to eliminate any dirt or debris that might interfere with sensor functionality. Now, align the new cover precisely over the sensors and secure it with the provided screws using a screwdriver. Ensure each screw is tightened evenly for a sturdy fit. Finally, test the sensors to confirm they are working correctly after the replacement. This method ensures a seamless Tesla ultrasonic sensor cover replacement, maintaining both vehicle aesthetics and safety features.
When it comes to replacing your Tesla ultrasonic sensor cover, using OEM (Original Equipment Manufacturer) components is a smart choice. By following the step-by-step guide provided, you can ensure a seamless installation process and maintain the superior functionality of your vehicle’s key safety feature. A Tesla ultrasonic sensor cover replacement isn’t just about aesthetics; it’s about preserving the integrity of your car’s advanced driver-assistance systems, ensuring a safer driving experience for years to come.