


Tesla ultrasonic sensor cover replacements require high-quality automotive adhesives for durability and functionality, ensuring safety features remain reliable. Prepare a kit with tools, materials, and protect your workspace. Evenly apply suitable adhesive, degrease surfaces, carefully position the new cover, and press firmly for a durable, seamless fit, maintaining vehicle safety and aesthetic appeal.
Looking to replace your Tesla ultrasonic sensor cover? You’re in the right place. This comprehensive guide delves into the process of replacing Tesla ultrasonic sensor covers, focusing on adhesive use and installation techniques. We’ll walk you through the preparation steps, tools required, and application guidelines for a seamless fit and optimal performance. Get ready to enhance your Tesla’s safety features with this essential DIY project.
- Understanding Tesla Ultrasonic Sensor Covers
- Preparation for Replacement: Tools and Materials
- Application Guidelines: Adhesive Use and Installation Tips
Understanding Tesla Ultrasonic Sensor Covers

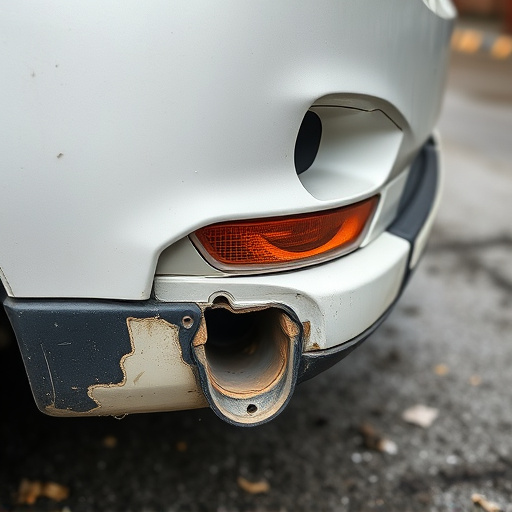
Tesla ultrasonic sensor covers are an essential component of the vehicle’s safety system, designed to protect and enhance the performance of the ultrasonic sensors. These sensors play a crucial role in advanced driver-assistance systems (ADAS), enabling features like automatic parking, lane departure warning, and adaptive cruise control. The covers safeguard the sensitive sensors from various environmental factors, such as dust, debris, and extreme temperatures, ensuring their longevity and accuracy.
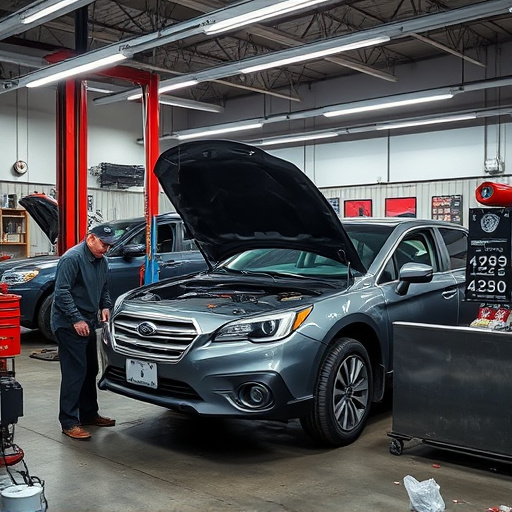
When considering Tesla ultrasonic sensor cover replacement, especially after a car collision repair or hail damage repair, it’s vital to use high-quality adhesives suitable for automotive applications. Improper adhesive selection can lead to sensor malfunction or inadequate protection. Professional car repair services often recommend using specialized adhesives that offer strong bonding strength, weather resistance, and compatibility with the vehicle’s materials. This ensures not just a secure fit but also maintains the overall performance and reliability of Tesla’s safety systems.
Preparation for Replacement: Tools and Materials

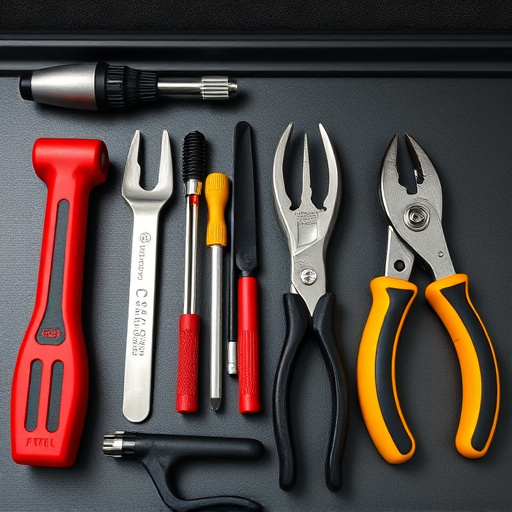
Before beginning your Tesla ultrasonic sensor cover replacement, it’s essential to gather all necessary tools and materials. This process requires precision and attention to detail, so having the right equipment makes a significant difference. Start by acquiring high-quality replacement covers designed specifically for Tesla models, ensuring they’re compatible with your vehicle’s make and year. Additionally, you’ll need a range of adhesives suitable for automotive applications, including strong bond adhesive for securing the cover firmly to the vehicle’s bodywork.
Don’t forget to prepare other essential items like fine-grit sandpaper for smoothing any rough edges, a degreaser for cleaning the installation area, and protective gear for your safety. For fleet repair services or serious scratch repairs, consider investing in a professional-grade adhesive gun and applicators to ensure a clean, precise application of adhesive during the Tesla ultrasonic sensor cover replacement process.
Application Guidelines: Adhesive Use and Installation Tips

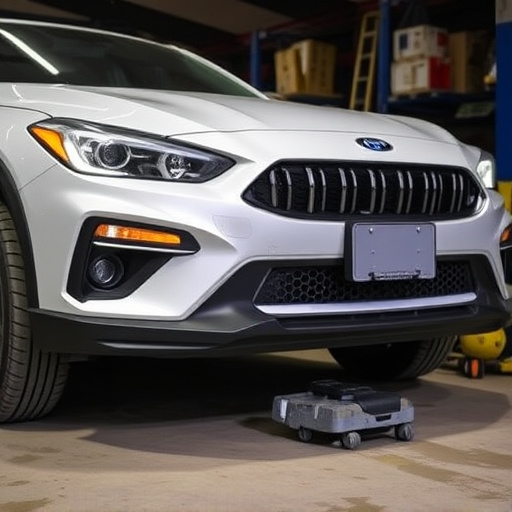
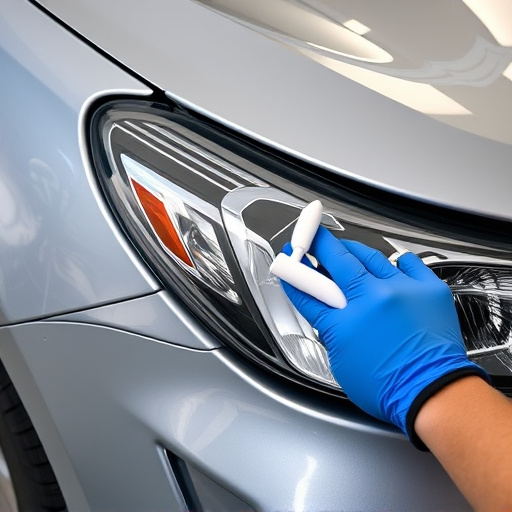
When replacing the Tesla ultrasonic sensor cover, proper adhesive use is essential for a secure and durable installation. Start by ensuring your work area is clean and free from any debris or dust that might affect adhesion. Use a suitable cleaning agent to degrease the surfaces where the sensors will be attached. Different adhesives are designed for specific materials, so selecting the right one is crucial. For Tesla models, an automotive-grade adhesive formulated for plastic and rubber is recommended. This ensures strong bonding with the sensor cover and compatibility with your vehicle’s body.
During installation, apply a thin layer of adhesive evenly along the edges of the new sensor cover. Allow it to set slightly before positioning the cover carefully over the ultrasonic sensors. Use a smooth motion to avoid bubbles or misalignments. Press firmly to create a strong bond, following the manufacturer’s guidelines for cure times. Remember, proper adhesive use is a key step in achieving a seamless Tesla ultrasonic sensor cover replacement, ensuring your vehicle’s safety and aesthetic appeal, much like how a car body shop would meticulously repair and restore its exterior.
Replacing your Tesla ultrasonic sensor cover is a straightforward process that, when done correctly with the right materials and guidelines, can significantly enhance your vehicle’s safety features. Remember to always use high-quality adhesives suitable for automotive applications and follow the application tips provided to ensure a secure fit. With these simple steps, you’ll have your Tesla running smoothly and safely on the road again, making the most of its advanced driver-assistance systems.