The Tesla ultrasonic sensor cover is crucial for safety and autonomous driving. Replacement involves acquiring a high-quality cover, preparing tools, removing the old cover, cleaning, installing new, and optimizing paint cure time. Professional services ensure precise timing and maintain vehicle aesthetics and integrity during Tesla ultrasonic sensor cover replacement.
Looking to enhance your Tesla’s safety and style? This comprehensive guide tackles the crucial topic of Tesla ultrasonic sensor cover replacement. We’ll demystify the functionality of these sensors, offering a detailed step-by-step replacement process for improved visibility. Additionally, discover expert tips to optimize paint cure time, ensuring a seamless and long-lasting repair. Master the art of Tesla ultrasonic sensor cover replacement today!
- Understanding Tesla Ultrasonic Sensor Functionality
- Step-by-Step Replacement Guide for Better Visibility
- Optimizing Paint Cure Time: Tips and Best Practices
Understanding Tesla Ultrasonic Sensor Functionality
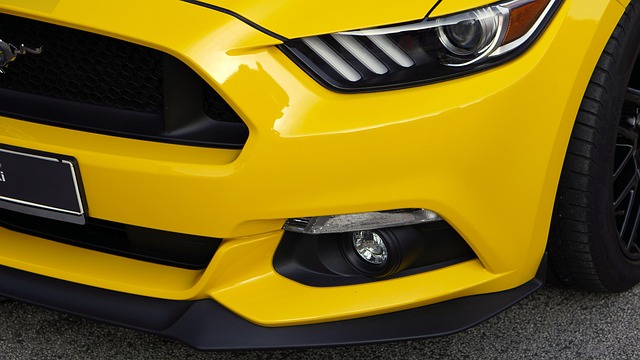
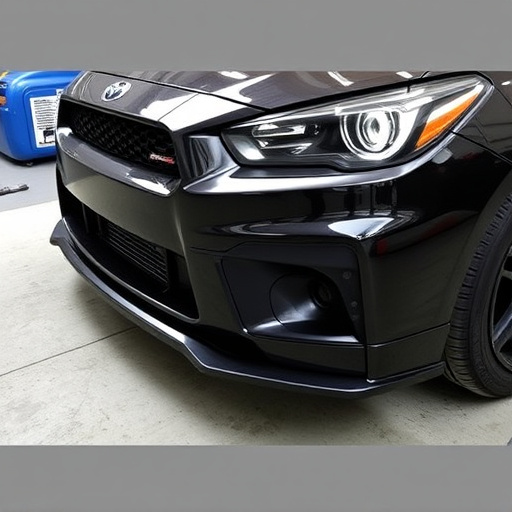
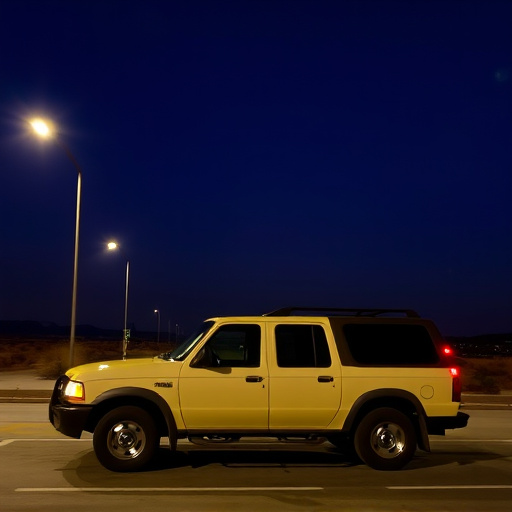
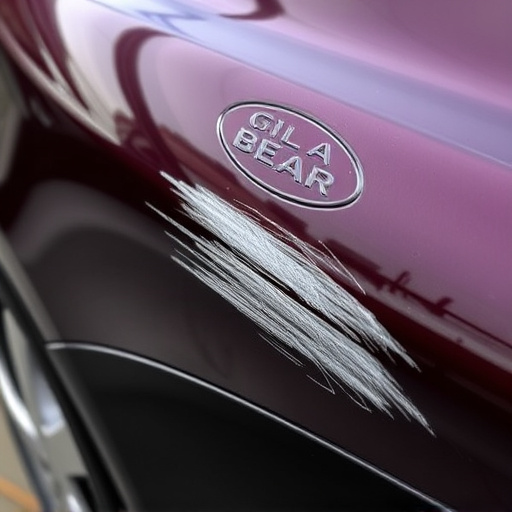
The Tesla Ultrasonic Sensor is a critical component of the vehicle’s safety and autonomous driving systems. These sensors emit high-frequency sound waves that bounce off objects, providing data to help the car perceive its surroundings. By understanding how these sensors work, owners can better appreciate the need for regular maintenance, especially when it comes to the Tesla ultrasonic sensor cover replacement. A damaged or obstructed sensor cover can impact the accuracy of the readings, which is crucial for features like parking assist and autonomous driving modes.
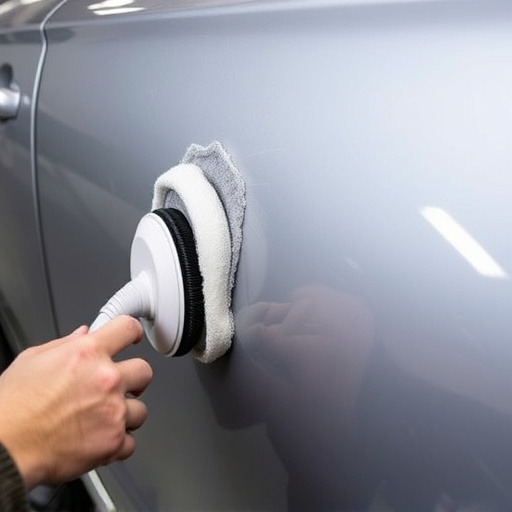
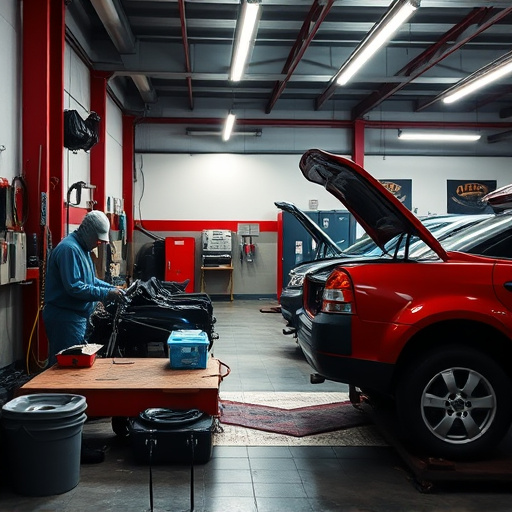
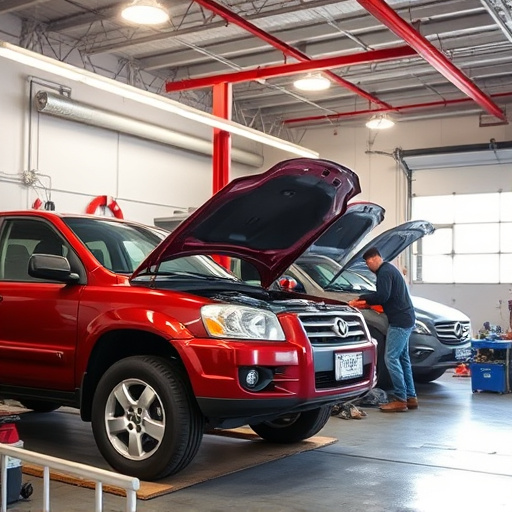
Regular inspection and prompt replacement of damaged covers are essential in maintaining optimal sensor performance. This process involves a precise auto painting technique to ensure the new cover blends seamlessly with the car’s body, as seen in automotive collision repair scenarios. Timely maintenance not only enhances safety but also preserves the overall aesthetic appeal of the vehicle, a key aspect that Tesla owners often prioritize.
Step-by-Step Replacement Guide for Better Visibility

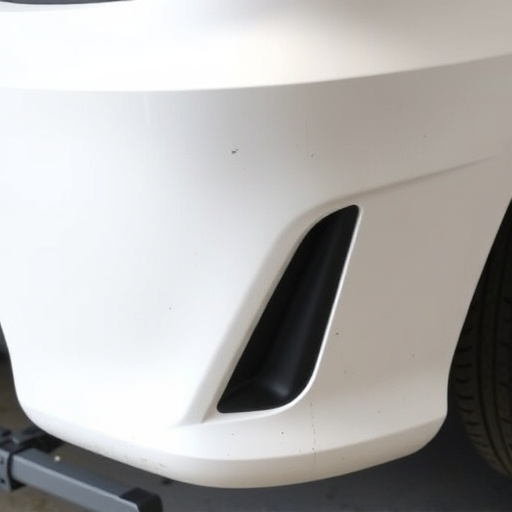
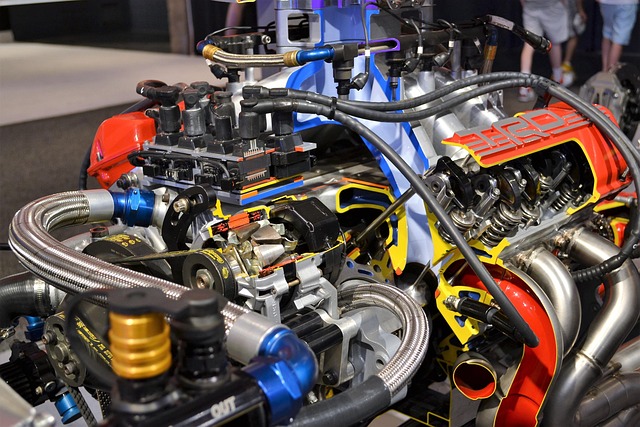
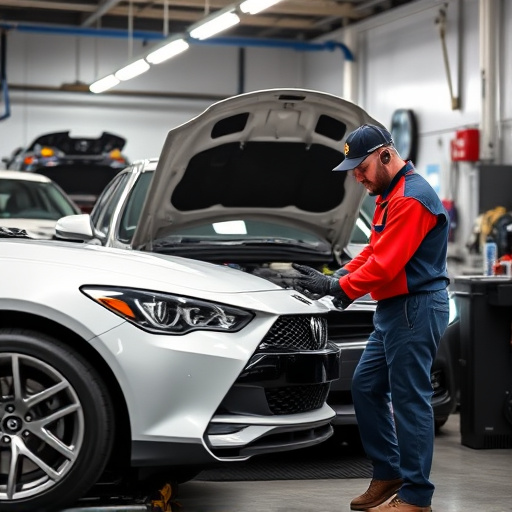
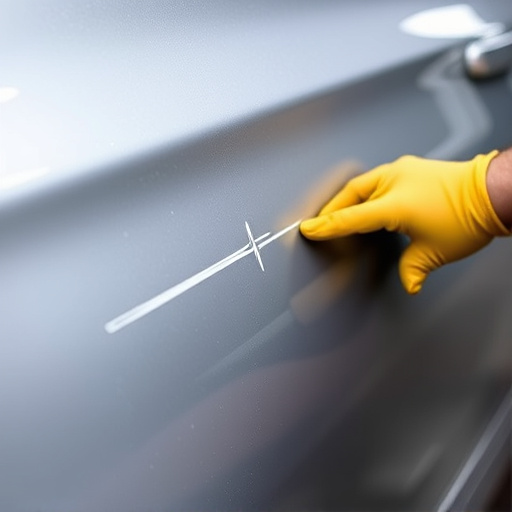
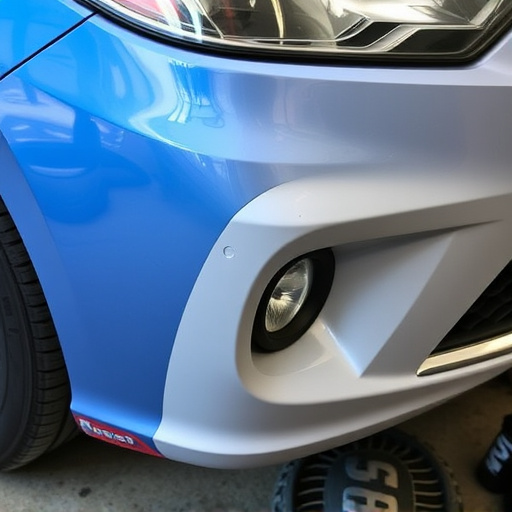
Replacing your Tesla’s ultrasonic sensor cover can significantly improve visibility and safety while driving. Here’s a step-by-step guide for a successful replacement, ensuring optimal results. Begin by purchasing a high-quality cover designed specifically for your Tesla model from a trusted dealer or supplier. This ensures compatibility and longevity. Next, gather the necessary tools: a set of precision screwdrivers, a clean microfiber cloth, and possibly a small tool like a spudger for safe removal without damaging other components.
Turn off your vehicle’s power and engage the parking brake for safety. Remove the existing cover by unscrewing the fixings securely holding it in place. Take note of their positions to ensure accurate reinstallation later. Clean the sensor area thoroughly, removing any debris or dirt using a dedicated cleaner to ensure optimal signal performance. Once clean, carefully install the new cover, aligning it precisely with the ultrasonic sensors below. Secure it with the removed fixings, ensuring each is fastened correctly. Double-check your work before proceeding to the next step: paint and cure.
Optimizing Paint Cure Time: Tips and Best Practices
Optimizing Paint Cure Time is crucial when performing a Tesla ultrasonic sensor cover replacement. To ensure a durable and high-quality finish, it’s essential to understand the ideal conditions for car paint repair. First, maintain a clean and dust-free environment; any contaminants can disrupt the curing process. Second, control temperature and humidity levels; optimal conditions are typically between 70-85°F (21-29°C) with 40-60% relative humidity.
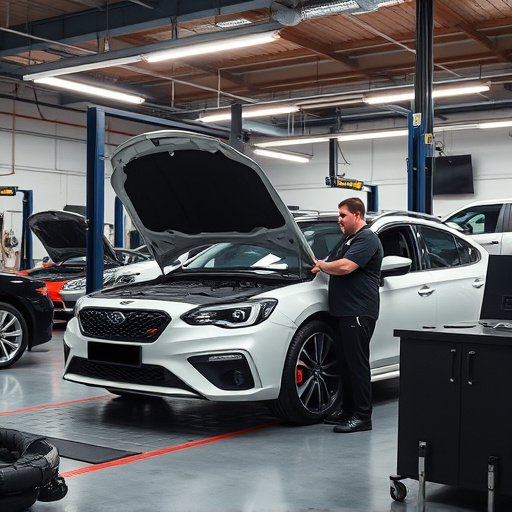
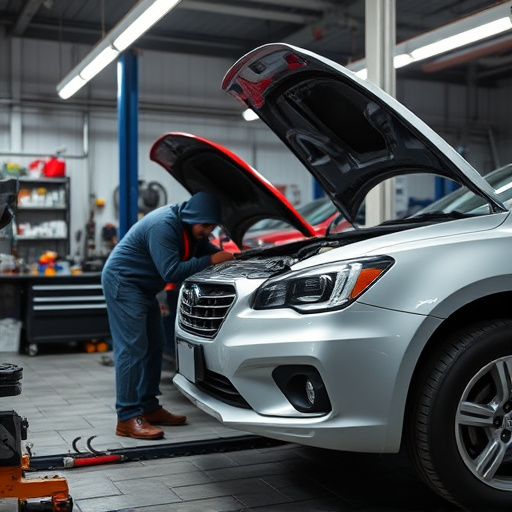
Use of automotive repair services or body shop services specializing in car paint repair can be invaluable. Professionals have the tools and expertise to manage these factors, ensuring precise timing and monitoring. Remember that, in addition to temperature and humidity, allowing sufficient dry time between coats is critical. Following the manufacturer’s guidelines for cure times will guarantee a professional finish that protects your Tesla’s aesthetic appeal and structural integrity.
Replacing your Tesla’s ultrasonic sensor cover is a straightforward process that can significantly improve visibility and vehicle safety. By following our step-by-step guide, you can ensure a successful replacement. Additionally, understanding the optimal paint cure time ensures long-lasting results. With these tips in mind, you’re well-equipped to tackle this task, enhancing your Tesla’s performance and maintaining its top-notch safety features.