


The Tesla ultrasonic sensor cover, vital for safety features like automatic emergency braking, needs regular cleaning and replacement to maintain optimal performance. Replacement is a simple DIY process, involving removing the old cover, cleaning the panel, installing a new one with proper alignment and securing it tightly. Regular maintenance using distilled water and mild detergent ensures peak sensor functionality, enhancing overall vehicle safety and upkeep.
Looking to enhance your Tesla’s safety and style? This comprehensive guide delves into the essential task of replacing and maintaining your Tesla ultrasonic sensor cover. Ultrasonic sensors play a vital role in autonomous driving, so proper upkeep is crucial. We’ll start with an overview of their functionality, then provide a detailed, step-by-step replacement process. Next, discover effective cleaning techniques to ensure optimal sensor performance. Take control of your Tesla’s advanced technology and follow these expert tips for a seamless experience.
- Understanding Tesla Ultrasonic Sensor Functionality
- Step-by-Step Replacement Guide for Cover
- Effective Cleaning Techniques for Optimal Performance
Understanding Tesla Ultrasonic Sensor Functionality

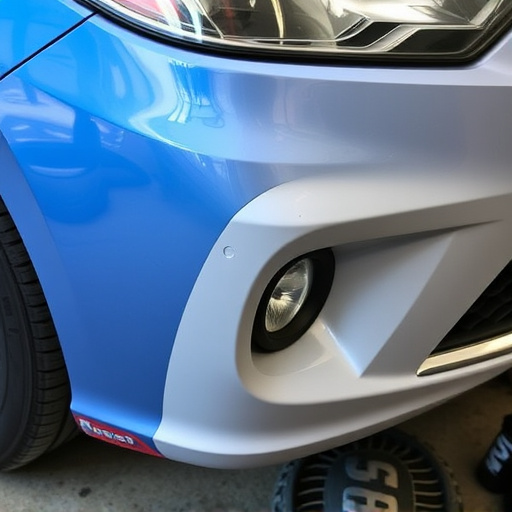
The Tesla Ultrasonic Sensor is a cutting-edge technology designed to enhance safety and driving assistance features in Tesla vehicles. These sensors emit high-frequency sound waves, creating a real-time map of objects surrounding the car. By analyzing the reflected echoes, the system can detect obstacles, pedestrians, and traffic signs, enabling crucial functions like automatic emergency braking and lane departure warning. The ultrasonic sensor cover, a vital component, protects these sophisticated sensors from dirt, debris, and potential damage, ensuring their longevity and optimal performance.
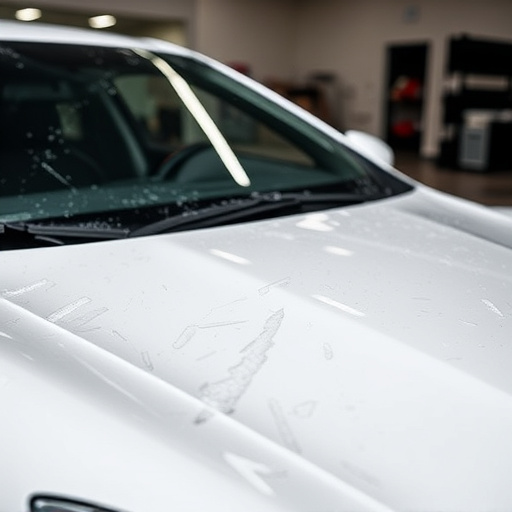
When considering Tesla ultrasonic sensor cover replacement or car body restoration for your vehicle, it’s essential to understand the intricate role these sensors play in modern automotive safety systems. Regular cleaning and maintenance of the sensor panels are recommended to prevent buildup of grime, which could impede signal transmission. Proper care not only extends the lifespan of the sensors but also contributes to overall vehicle repair and upkeep, ensuring a safer driving experience.
Step-by-Step Replacement Guide for Cover

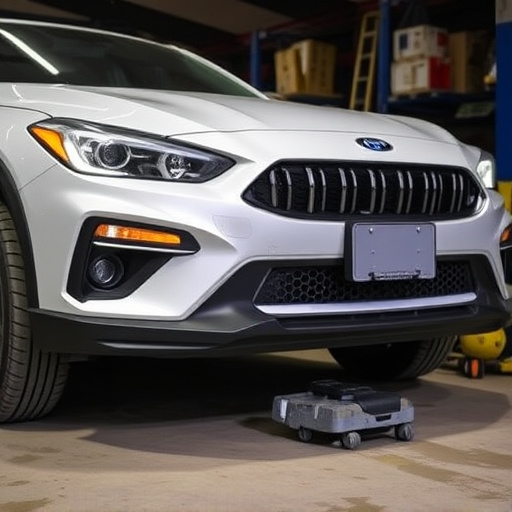
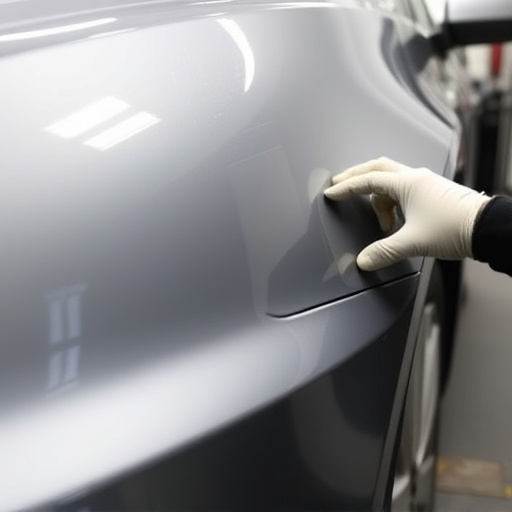
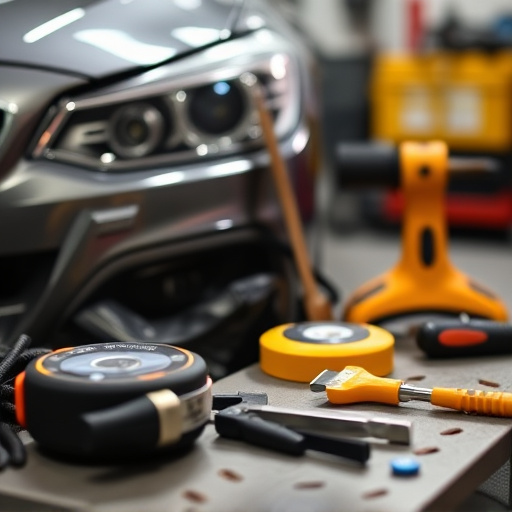
Replacing a Tesla ultrasonic sensor cover is a straightforward process that can be accomplished with the right tools and a few simple steps. First, locate the sensor on your vehicle, usually found near the front or rear bumpers. Next, gather all necessary components, including the new cover, screws, and any required washers. Remove the old cover by unscrewing it from the existing panel using a Philips head screwdriver. Take care not to damage surrounding components or paint during this process.
Once the old cover is removed, clean the panel thoroughly with a suitable cleaner to ensure optimal adhesion for the new cover. After cleaning, install the new cover by aligning it precisely and screwing it into place. Double-check that all screws are securely fastened, following the torque specifications provided by Tesla for proper installation. This meticulous approach ensures a seamless fit, maintaining the aesthetic integrity of your car’s bodywork, and enhancing its overall safety through accurate sensor functionality.
Effective Cleaning Techniques for Optimal Performance

When it comes to maintaining optimal performance for your Tesla’s ultrasonic sensor cover, effective cleaning techniques are paramount. Start by using a soft, microfiber cloth dampened with distilled water to gently remove any visible dirt or debris. This initial step ensures no foreign particles are interfering with the sensor’s functionality.
For more stubborn stains or buildup, consider mixing a mild detergent with warm water and applying it to the cover using a clean brush or sponge. Ensure you thoroughly rinse the area afterward and dry it completely with another microfiber cloth. Remember, when replacing the ultrasonic sensor cover or conducting any bumper repair or car body repair work, meticulous attention to detail is key to achieving peak performance from your vehicle’s sensors.
Replace or clean your Tesla ultrasonic sensor cover to ensure optimal performance and safety. By understanding the functionality of these sensors and following a detailed guide, you can efficiently perform either task. Remember, regular maintenance is key to keeping your vehicle’s advanced driver-assistance systems (ADAS) functioning at their best. So, whether it’s a replacement or a deep clean, take care of your Tesla ultrasonic sensor cover for enhanced driving experience and peace of mind.