


The Tesla ultrasonic sensor cover is crucial for safety and navigation systems, requiring regular maintenance and replacement due to potential damage. DIY replacement involves removing old covers, inspecting sensors, installing new ones, and ensuring proper alignment. Calibration post-replacement ensures optimal performance of ADAS features like obstacle detection and adaptive cruise control during auto maintenance.
Looking to replace your Tesla ultrasonic sensor cover and calibrate your vehicle? You’ve come to the right place. This comprehensive guide breaks down the process step-by-step, ensuring your Tesla’s safety features function optimally. We’ll walk you through understanding the ultrasonic sensor’s role in autonomous driving, removing and replacing the damaged or contaminated cover, and performing a crucial vehicle calibration reset afterward. Get ready to restore your Tesla’s safety systems to peak performance with ease.
- Understanding Tesla Ultrasonic Sensor Functionality
- Step-by-Step Guide: Replacing the Cover
- Post-Replacement Calibration and Testing
Understanding Tesla Ultrasonic Sensor Functionality
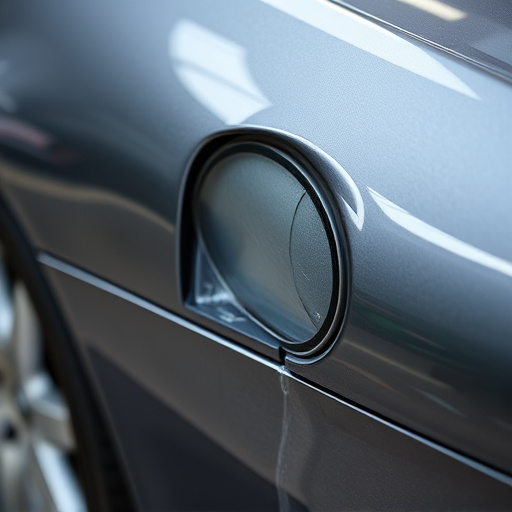
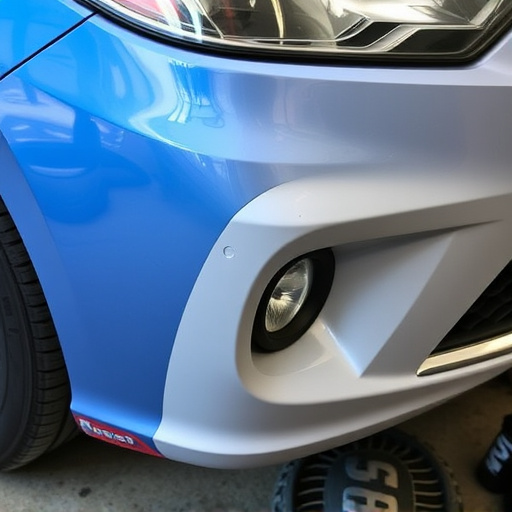
The Tesla ultrasonic sensor is a cutting-edge technology that plays a vital role in the vehicle’s safety and navigation systems. These sensors are designed to detect objects around the car, helping with features like parking assistance, adaptive cruise control, and automatic emergency braking. The sensors emit high-frequency sound waves that bounce off nearby obstacles, providing precise data on distance and location. By understanding how these ultrasonic sensors work, you can better appreciate the importance of regular Tesla ultrasonic sensor cover replacement and maintenance.
When a Tesla vehicle’s sensor covers become damaged or dirty, it can impact the accuracy of the readings. Over time, debris, road salt, or even small cracks in the plastic casing can affect performance. Therefore, timely car body repair involving replacing the ultrasonic sensor cover is essential to ensure optimal functionality. This process involves carefully removing the old cover, cleaning the area, and installing a new one to maintain seamless integration with the vehicle’s bodywork and overall safety features.
Step-by-Step Guide: Replacing the Cover
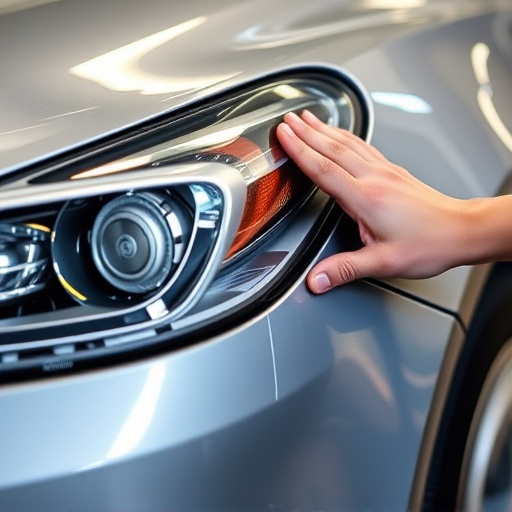
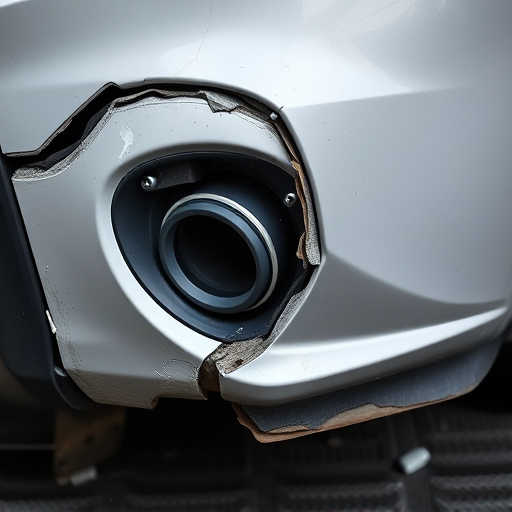
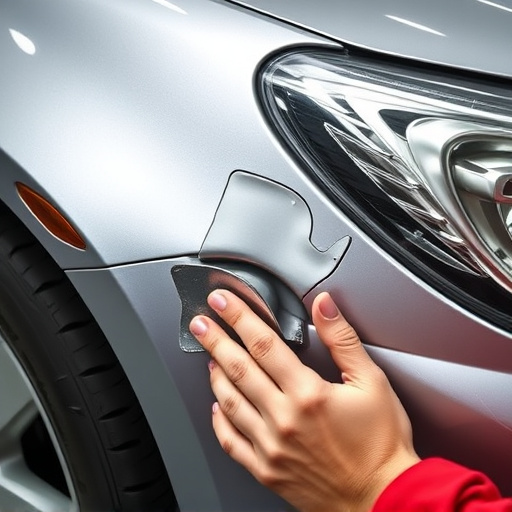
Replacing the Tesla ultrasonic sensor cover is a relatively straightforward process that can be completed with the right tools and a bit of patience. First, gather all necessary components, including the new cover, screws, and any other hardware specific to your vehicle model. Park your Tesla on a level surface, engage park assist, and locate the sensors along the vehicle’s perimeter. Using a screwdriver, carefully remove the existing cover, taking note of its placement and any clips or fasteners holding it in place. Once exposed, inspect the ultrasonic sensors for any debris or damage before proceeding with the replacement.
Next, install the new cover by aligning it precisely over the sensors and securing it with the appropriate hardware. Ensure all screws are tightly fastened to prevent loose parts that could interfere with sensor functionality. After tightening, double-check the cover’s positioning, making sure it fits snugly without gaps or overlaps. Depending on your vehicle, you might need to calibrate the sensors post-replacement using the Tesla mobile app or a dedicated calibration tool, ensuring optimal performance and safety features.
Post-Replacement Calibration and Testing
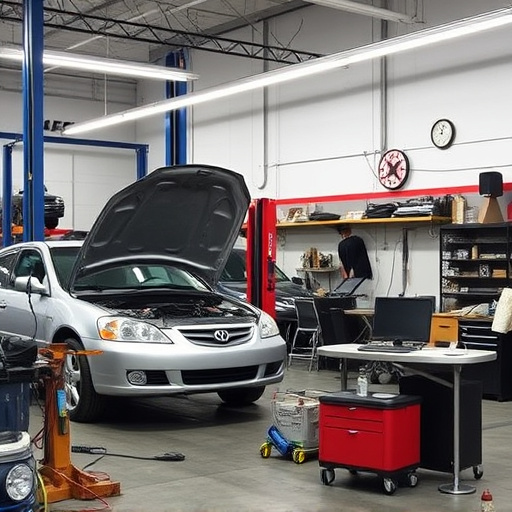
After successfully installing a new Tesla ultrasonic sensor cover, it’s crucial to perform a thorough calibration and testing process. This step is essential for ensuring that your vehicle’s advanced driver-assistance systems (ADAS) function optimally and safely. Calibration involves adjusting the sensors’ settings to match the specific characteristics of your vehicle and its surroundings.
During this process, you’ll want to test each sensor individually and as part of an integrated system. This includes checking for accurate obstacle detection, lane departure warnings, and adaptive cruise control performance. Proper calibration not only enhances safety but also improves overall vehicle handling and response during auto maintenance and automotive body work routines.
After successfully replacing your Tesla’s ultrasonic sensor cover, it’s crucial to calibrate and test your vehicle to ensure optimal performance. This involves resetting the system, which can be done through the vehicle settings or with professional assistance. By following the steps outlined in this guide, you’ll not only enhance your Tesla’s safety features but also enjoy improved parking precision and a seamless driving experience. Remember, a well-maintained sensor cover is key to maintaining your Tesla’s advanced driver-assistance systems (ADAS).