


The Tesla ultrasonic sensor, vital for ADAS features like parking assistance and adaptive cruise control, relies on high-frequency sound waves. Its durable plastic cover protects intricate machinery from debris. Replacing or repairing this cover requires understanding its functionality, precise alignment, and calibration for optimal performance. A DIY approach demands specific tools (precision screwdrivers, plastic hammer) and materials (adhesive), adequate lighting, and careful attention to detail. This process addresses damage from minor collisions, offering cost savings and a deeper understanding of Tesla's technology, ultimately enhancing safety features.
Looking to fix or replace your Tesla’s ultrasonic sensor cover? This comprehensive guide is tailored for both professional mechanics and DIY enthusiasts. We’ll walk you through understanding the critical role of Tesla’s ultrasonic sensors, gathering the necessary tools and materials, and providing a detailed step-by-step repair process for your convenience. Discover expert tips and tricks to ensure a successful Tesla ultrasonic sensor cover replacement.
- Understanding Tesla Ultrasonic Sensor Functionality
- Preparing for Cover Replacement: Tools and Materials
- Step-by-Step Guide to DIY Sensor Cover Repair
Understanding Tesla Ultrasonic Sensor Functionality

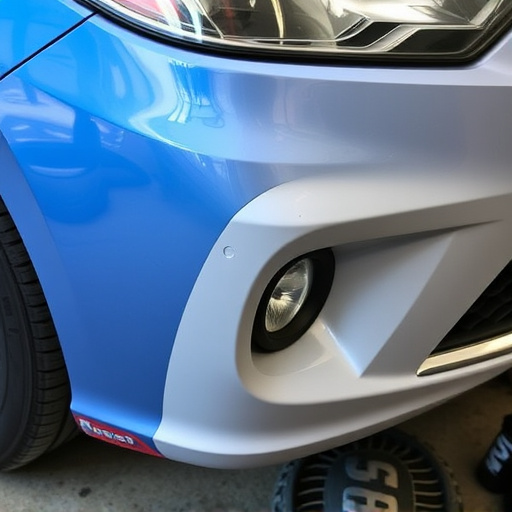
The Tesla Ultrasonic Sensor is a pivotal component in the car’s advanced driver-assistance systems (ADAS), playing a crucial role in features like parking assistance and adaptive cruise control. This sensor uses high-frequency sound waves to detect obstacles and calculate distances, ensuring the vehicle navigates with precision and safety. The sensor cover, often made of durable plastic, protects the intricate machinery beneath from debris, dust, and potential damage.
When considering a Tesla ultrasonic sensor cover replacement or DIY repair, it’s essential to understand the sensor’s functionality and the potential implications of any changes. While some tire services and auto body shops offer these services, DIY repairs require careful consideration. The process involves precise alignment and calibration to maintain optimal performance, ensuring the vehicle remains safe and road-ready.
Preparing for Cover Replacement: Tools and Materials

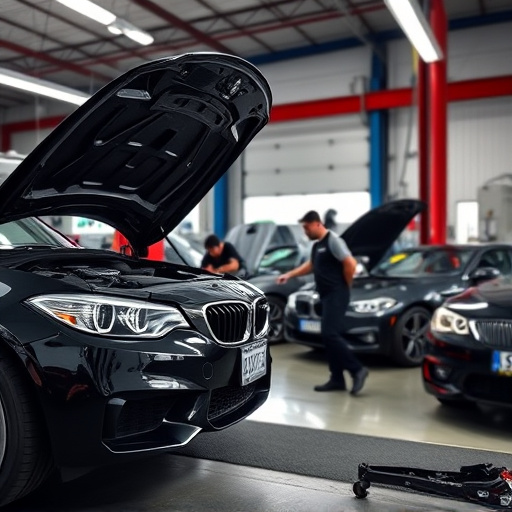
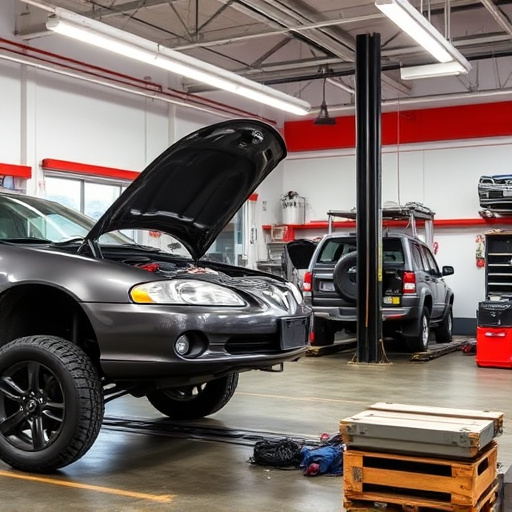
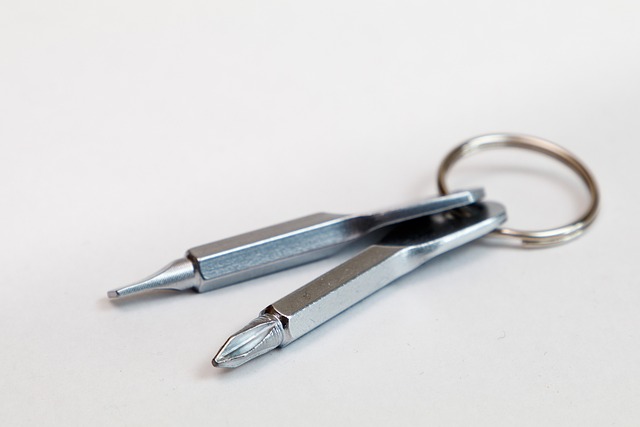
Preparing for your Tesla ultrasonic sensor cover replacement is key to a successful DIY repair or when enlisting the help of collision repair services. Gather the necessary tools and materials, including a set of precision screwdrivers (flathead and Phillips), a plastic hammer, new ultrasonic sensor covers, and a small amount of automotive-grade adhesive. Ensure you have adequate lighting to clearly see each step during disassembly and reassembly.
A fender bender or minor collision can often damage the ultrasonic sensors, necessitating a replacement cover. While some individuals may opt to take their vehicle to a collision center for repair, performing a Tesla ultrasonic sensor cover replacement yourself is both cost-effective and empowers you to better understand your car’s technology. With the right tools and materials, you can efficiently address this issue and enhance your Tesla’s safety features.
Step-by-Step Guide to DIY Sensor Cover Repair

Step-by-Step Guide to DIY Tesla Ultrasonic Sensor Cover Repair
1. Gather Your Tools and Materials: Before starting your Tesla ultrasonic sensor cover replacement, ensure you have all necessary tools and materials at hand. This includes a new sensor cover, plastic glue, sandpaper (fine grit), and cleaning supplies. An air compressor can also be helpful for removing debris.
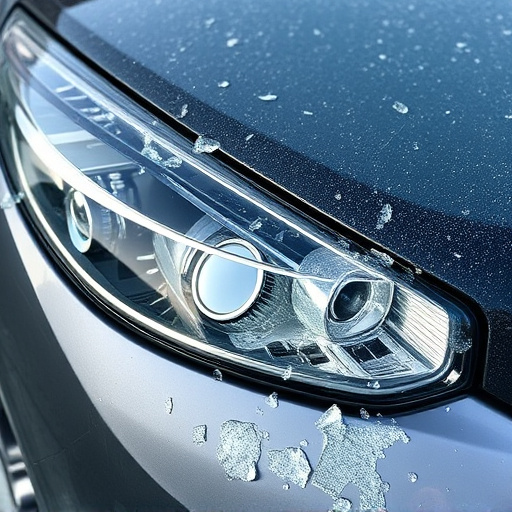
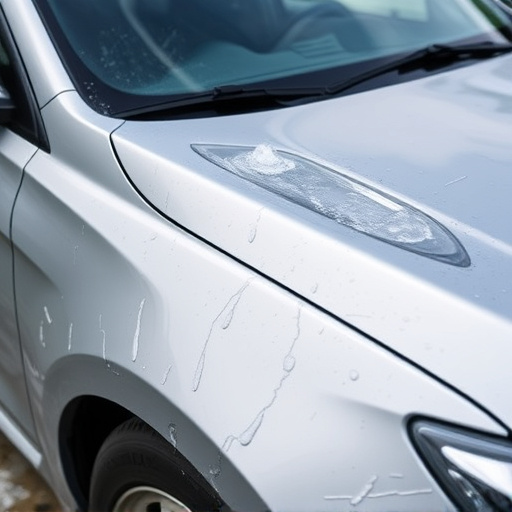
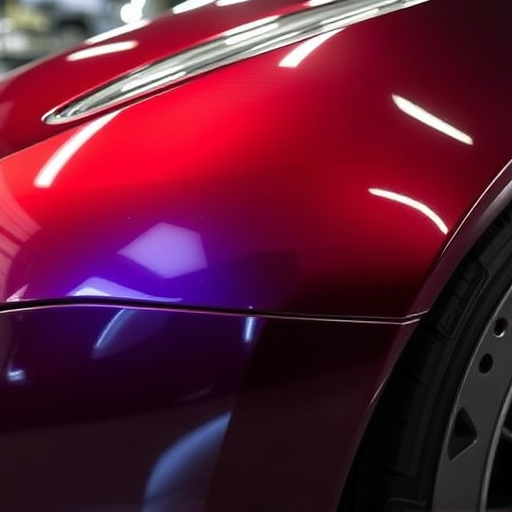
2. Clean the Area: Begin by thoroughly cleaning the damaged area around the sensor. Use a dedicated car wash solution to ensure no residue or dirt remains. Once clean, dry the surface completely using a microfiber cloth. This step is crucial as any moisture or grime could compromise your new cover’s adhesion.
3. Prepare the New Cover: Carefully remove the protective backing from the new sensor cover. Some covers may have an adhesive layer already in place; if so, ensure it’s aligned correctly with the car’s sensor. Adjusting the placement later can be challenging due to the sensitive nature of these sensors.
4. Apply Adhesive and Attach: Following the manufacturer’s instructions, apply a thin layer of high-quality plastic glue along the edges of the sensor where the cover will be attached. Gently press the new cover into place, ensuring it fits snugly around the ultrasonic sensor. Press firmly for several seconds to allow the adhesive to bond.
5. Smooth and Reinforce: Use fine-grit sandpaper to gently smooth any rough edges or bubbles trapped under the cover. This ensures a seamless finish. Optionally, consider using double-sided tape for added reinforcement, especially if the original adhesive seems weak.
Replacing or repairing a Tesla ultrasonic sensor cover is a feasible DIY project that can save you time and money. By understanding the functionality of these sensors, having the right tools and materials, and following a detailed step-by-step guide, you can effectively address any issues with your vehicle’s parking assistance system. Remember, a well-maintained Tesla is a safer and more enjoyable driving experience. Now, get ready to navigate the process with ease and restore your car’s ultrasonic sensor cover to its optimal condition!