

Tesla ultrasonic sensor cover replacement requires meticulous attention. After parking and securing the vehicle, remove debris from sensors using compressed air. Disassemble old covers with lubricant and screwdriver, clean sensors thoroughly, then reassemble with new covers, ensuring precise alignment and tight sealing for optimal performance. Double-check connections before tightening. For DIYers lacking auto repair experience, professional assistance is recommended. Regular panel gap inspection, bodywork checks, and collision repairs from reputable shops ensure sensor efficiency after replacement.
“Looking to enhance your Tesla’s safety and style? This guide delves into the essential task of replacing the Tesla ultrasonic sensor cover and offers valuable insights on panel gap inspection. Ultrasonic sensors play a pivotal role in autonomous driving, so ensuring their optimal functionality is crucial. We’ve broken down the process step-by-step, making it accessible for DIY enthusiasts. From disassembling the cover to reinstalling it perfectly, you’ll master the art of maintenance. Additionally, we provide tips for inspecting panel gaps, guaranteeing both safety and aesthetics.”
- Understanding Tesla Ultrasonic Sensor Functionality
- Step-by-Step Guide: Cover Replacement Process
- Ensuring Optimal Performance: Panel Gap Inspection Tips
Understanding Tesla Ultrasonic Sensor Functionality
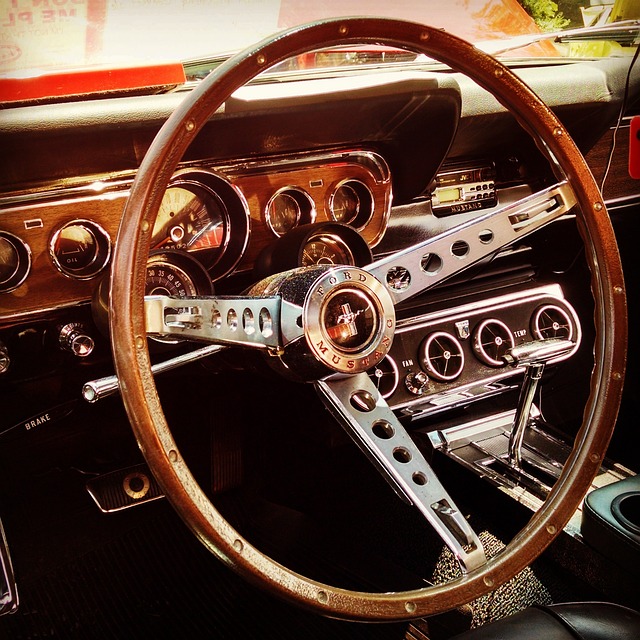
Tesla’s ultrasonic sensors are an integral part of their advanced driver-assistance systems (ADAS). These sensors play a crucial role in various safety features, such as parking assistance and automatic emergency braking. They emit high-frequency sound waves that bounce off objects around the vehicle, creating echoes that help detect nearby obstacles or vehicles. By analyzing these echo patterns, Tesla’s system can accurately gauge distances and speed differences, enabling critical real-time decisions for driver safety.
Regular inspection of these sensors is essential to ensure optimal performance. The ultrasonic sensor cover replacement process involves careful removal of the existing cover, thorough cleaning of the sensor housing, and precise installation of a new cover to protect against debris and environmental damage. This maintenance can prevent issues like sensor malfunctioning due to collision damage repair or car dent removal, ensuring that your Tesla’s safety features remain reliable and effective.
Step-by-Step Guide: Cover Replacement Process
Step-by-Step Guide: Tesla Ultrasonic Sensor Cover Replacement Process
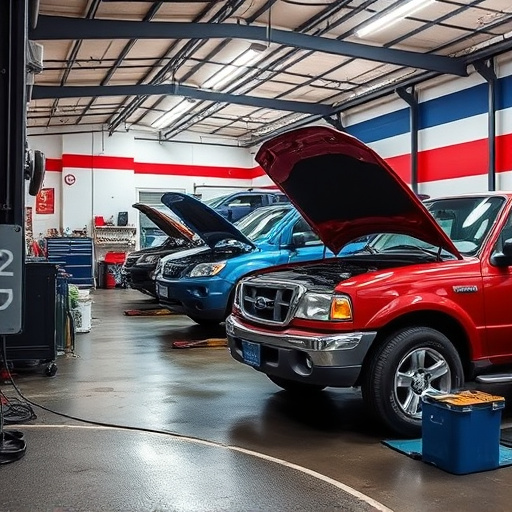
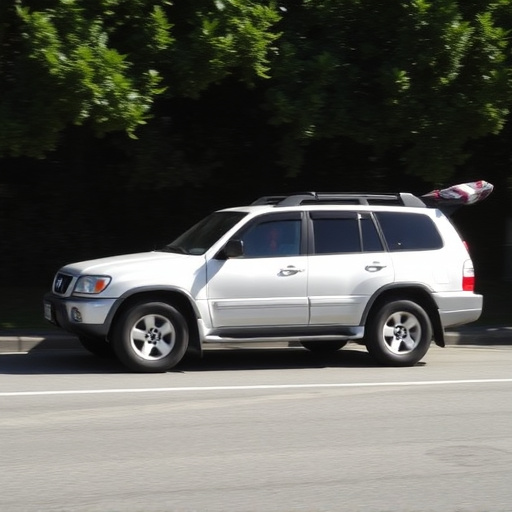
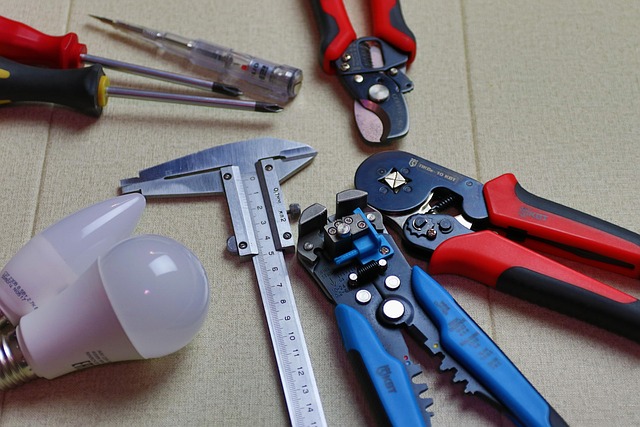
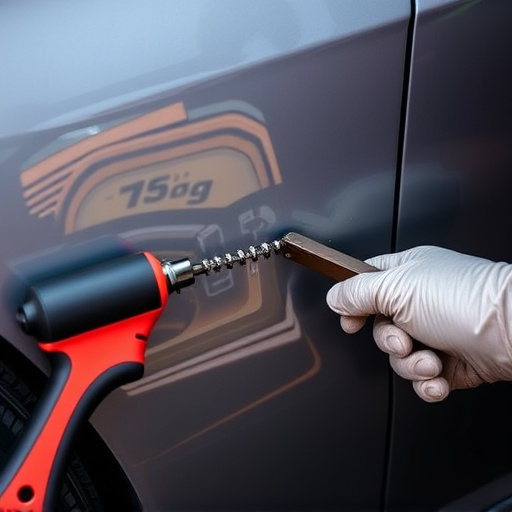
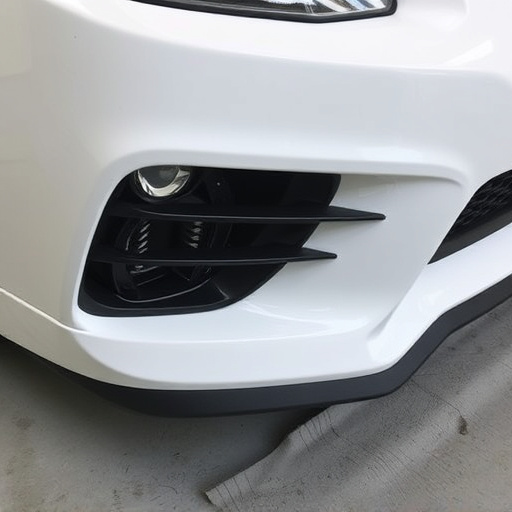
To begin the Tesla ultrasonic sensor cover replacement process, locate the affected sensors along the vehicle’s body. These sensors are typically found near door handles, bumpers, and other protruding parts. Gather your tools, which include a new cover, a phillips head screwdriver, and plastic safe lubricant. Before starting, park your Tesla on a level surface and engage the parking brake for safety. Remove any debris or dirt around the sensor area using compressed air or a soft brush to ensure clean access.
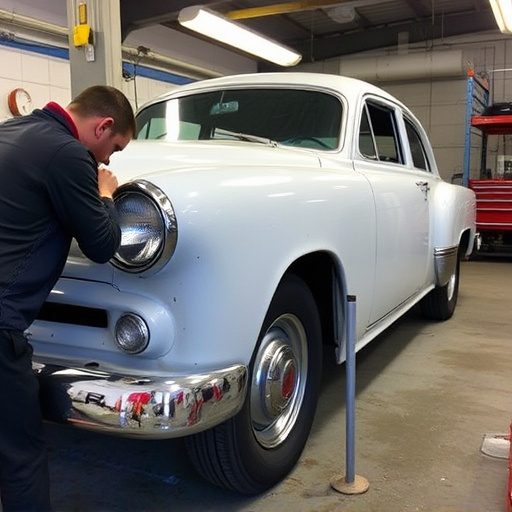
Next, loosen the existing cover by applying lubricant to the edges and gently prying it off with the screwdriver. Take note of how the cover is attached and in what order. Once removed, inspect the ultrasonic sensor for any damage or debris accumulation. Clean the sensor thoroughly using a microfiber cloth dampened with isopropyl alcohol. Install the new cover by aligning its edges precisely and securing it tightly using the lubricant to prevent future loosening from car vibrations. Lastly, double-check all connections and tighten any loose screws. For those without auto repair experience, consider visiting a reliable auto repair shop offering professional Tesla services, including tire services and dent repair, for peace of mind.
Ensuring Optimal Performance: Panel Gap Inspection Tips

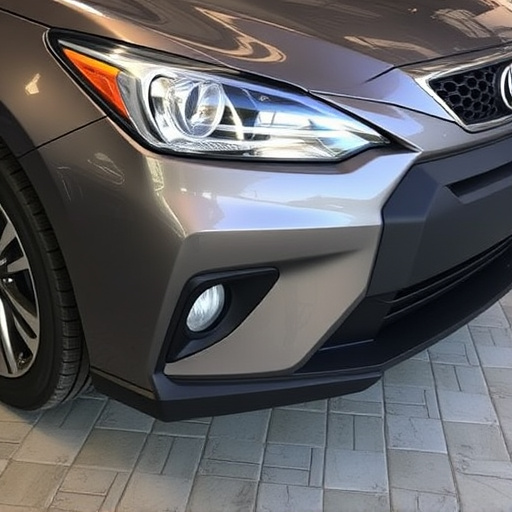
To ensure optimal performance from your Tesla’s ultrasonic sensor cover replacement, meticulous panel gap inspection is paramount. When conducting this process, pay close attention to details like alignment and spacing, as even minor discrepancies can impact the effectiveness of the sensors. Regularly inspect your car’s bodywork for any signs of wear or damage that could affect these measurements.
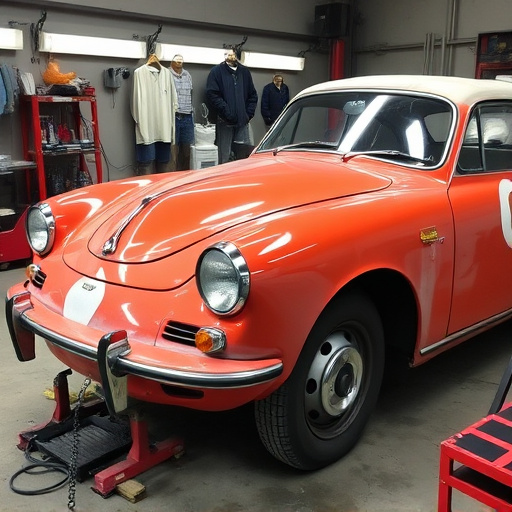
Consider engaging collision repair services from a reputable auto repair near me shop if you notice uneven gaps or damages. Their specialized tools and trained technicians can accurately assess and address issues related to panel alignment, ensuring your Tesla’s sensors operate at peak efficiency after the replacement.
Replacing your Tesla’s ultrasonic sensor cover and performing regular panel gap inspections are essential steps in maintaining optimal vehicle safety and aesthetics. By following the step-by-step guide outlined in this article, you can ensure a seamless process. Remember, proper maintenance of these sensors is crucial for enhancing driving safety, especially in today’s digital era where advanced driver-assistance systems (ADAS) heavily rely on accurate sensor data. So, take a dive into this knowledge and keep your Tesla’s ultrasonic sensors in top shape!